How to Use an AeroPress: Recipes, Tips & Tricks
The AeroPress is one of those manual coffee makers that just works.
Throw in some coffee, pour over some water, and as if it were magic– a sweet, bright, and delicious cup of coffee.
In this article, I’m not only going to show you how to use an AeroPress, but I’ll get you to understand the AeroPress so you can make recipes of your own.
What You Need To Make Aeropress Coffee
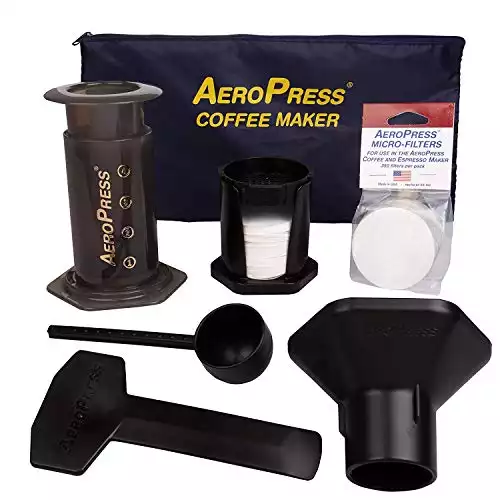
For starters, there are a couple of bits of gear that we’ll need. The AeroPress, the filters, and the AeroPress paddle come included, right there in that hexagonal AeroPress box of fun.
Some of the gear in this list isn’t essential. The scales you can go without if you are making coffee on the go and need to pack light.
The same thing goes for the grinder. You will always achieve the best flavor grinding fresh, but you can use pre-ground coffee if you need to. If you do go this route, try to make sure that your coffee has been preground recently, within the last couple of days at the most.
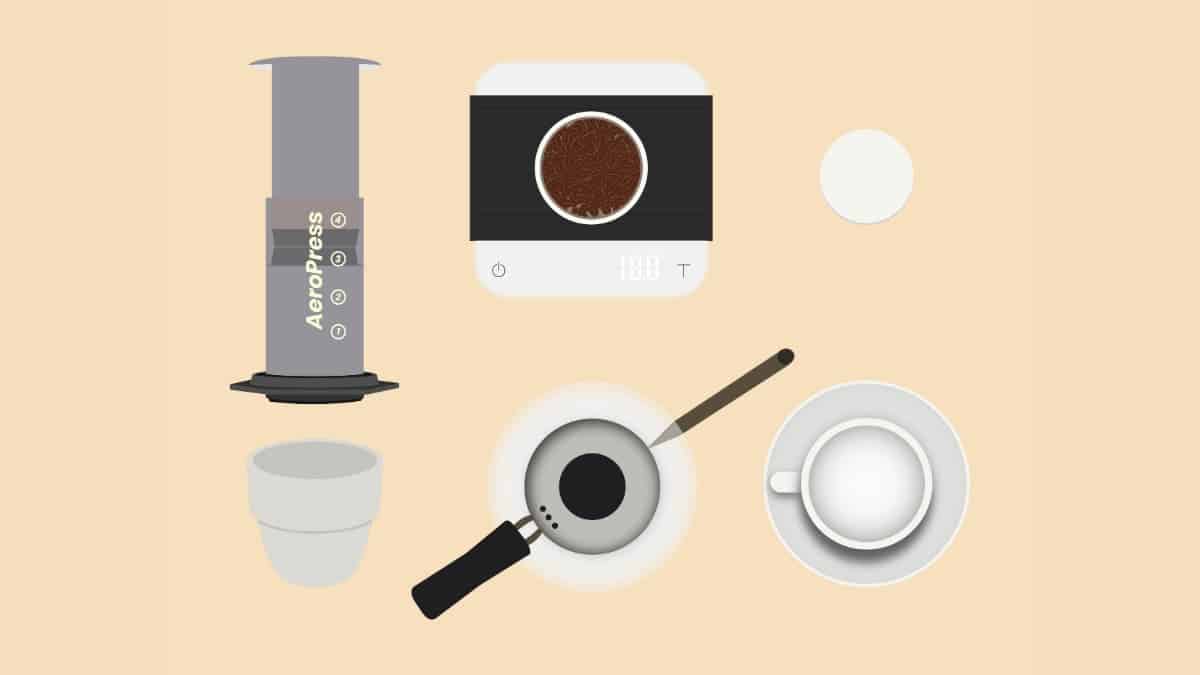
- AeroPress coffee maker
- Paper filters
- Stirring paddle
- Mug
- Coffee beans
- Hot water (ideally mineral or distilled plus mineral additives)
- Burr grinder (optional, but highly recommended)
- Scales (optional)
- Timer
Popular Methods of Aeropress Brewing
Just to clarify before we jump in, the AeroPress coffee maker comes in 3 main parts. The AeroPress brewing chamber, the plunger, and the filter cap. The filter goes in the bottom, and it twists onto the brewing chamber.
When the coffee is done brewing, the plunging piece is what we’ll use to push the coffee out, through the filter, and into the mug. Super straight forward.
There are a couple of common ways of how to use an AeroPress. You can use either method to make a delicious full cup of coffee.
The Standard Method
The first is known as the standard or upright method. When you look at the AeroPress, the standard approach is the obvious way of how to use an AeroPress. With the flat base and filter at the bottom, sitting on your cup, ready to make a cup of coffee.
We’ll dig deeper into how to use an AeroPress in the standard configuration in a moment, but the gist of it is this: take an AeroPress filter and place it in the cap. Screw the cap onto the AeroPress brewing chamber.
Now sit the AeroPress on a cup. Add your coffee and water. Stir it and let the coffee steep for your chosen amount of time. Insert the AeroPress plunger and push down.
The next method is what is known as the inverted method.
The Inverted Method
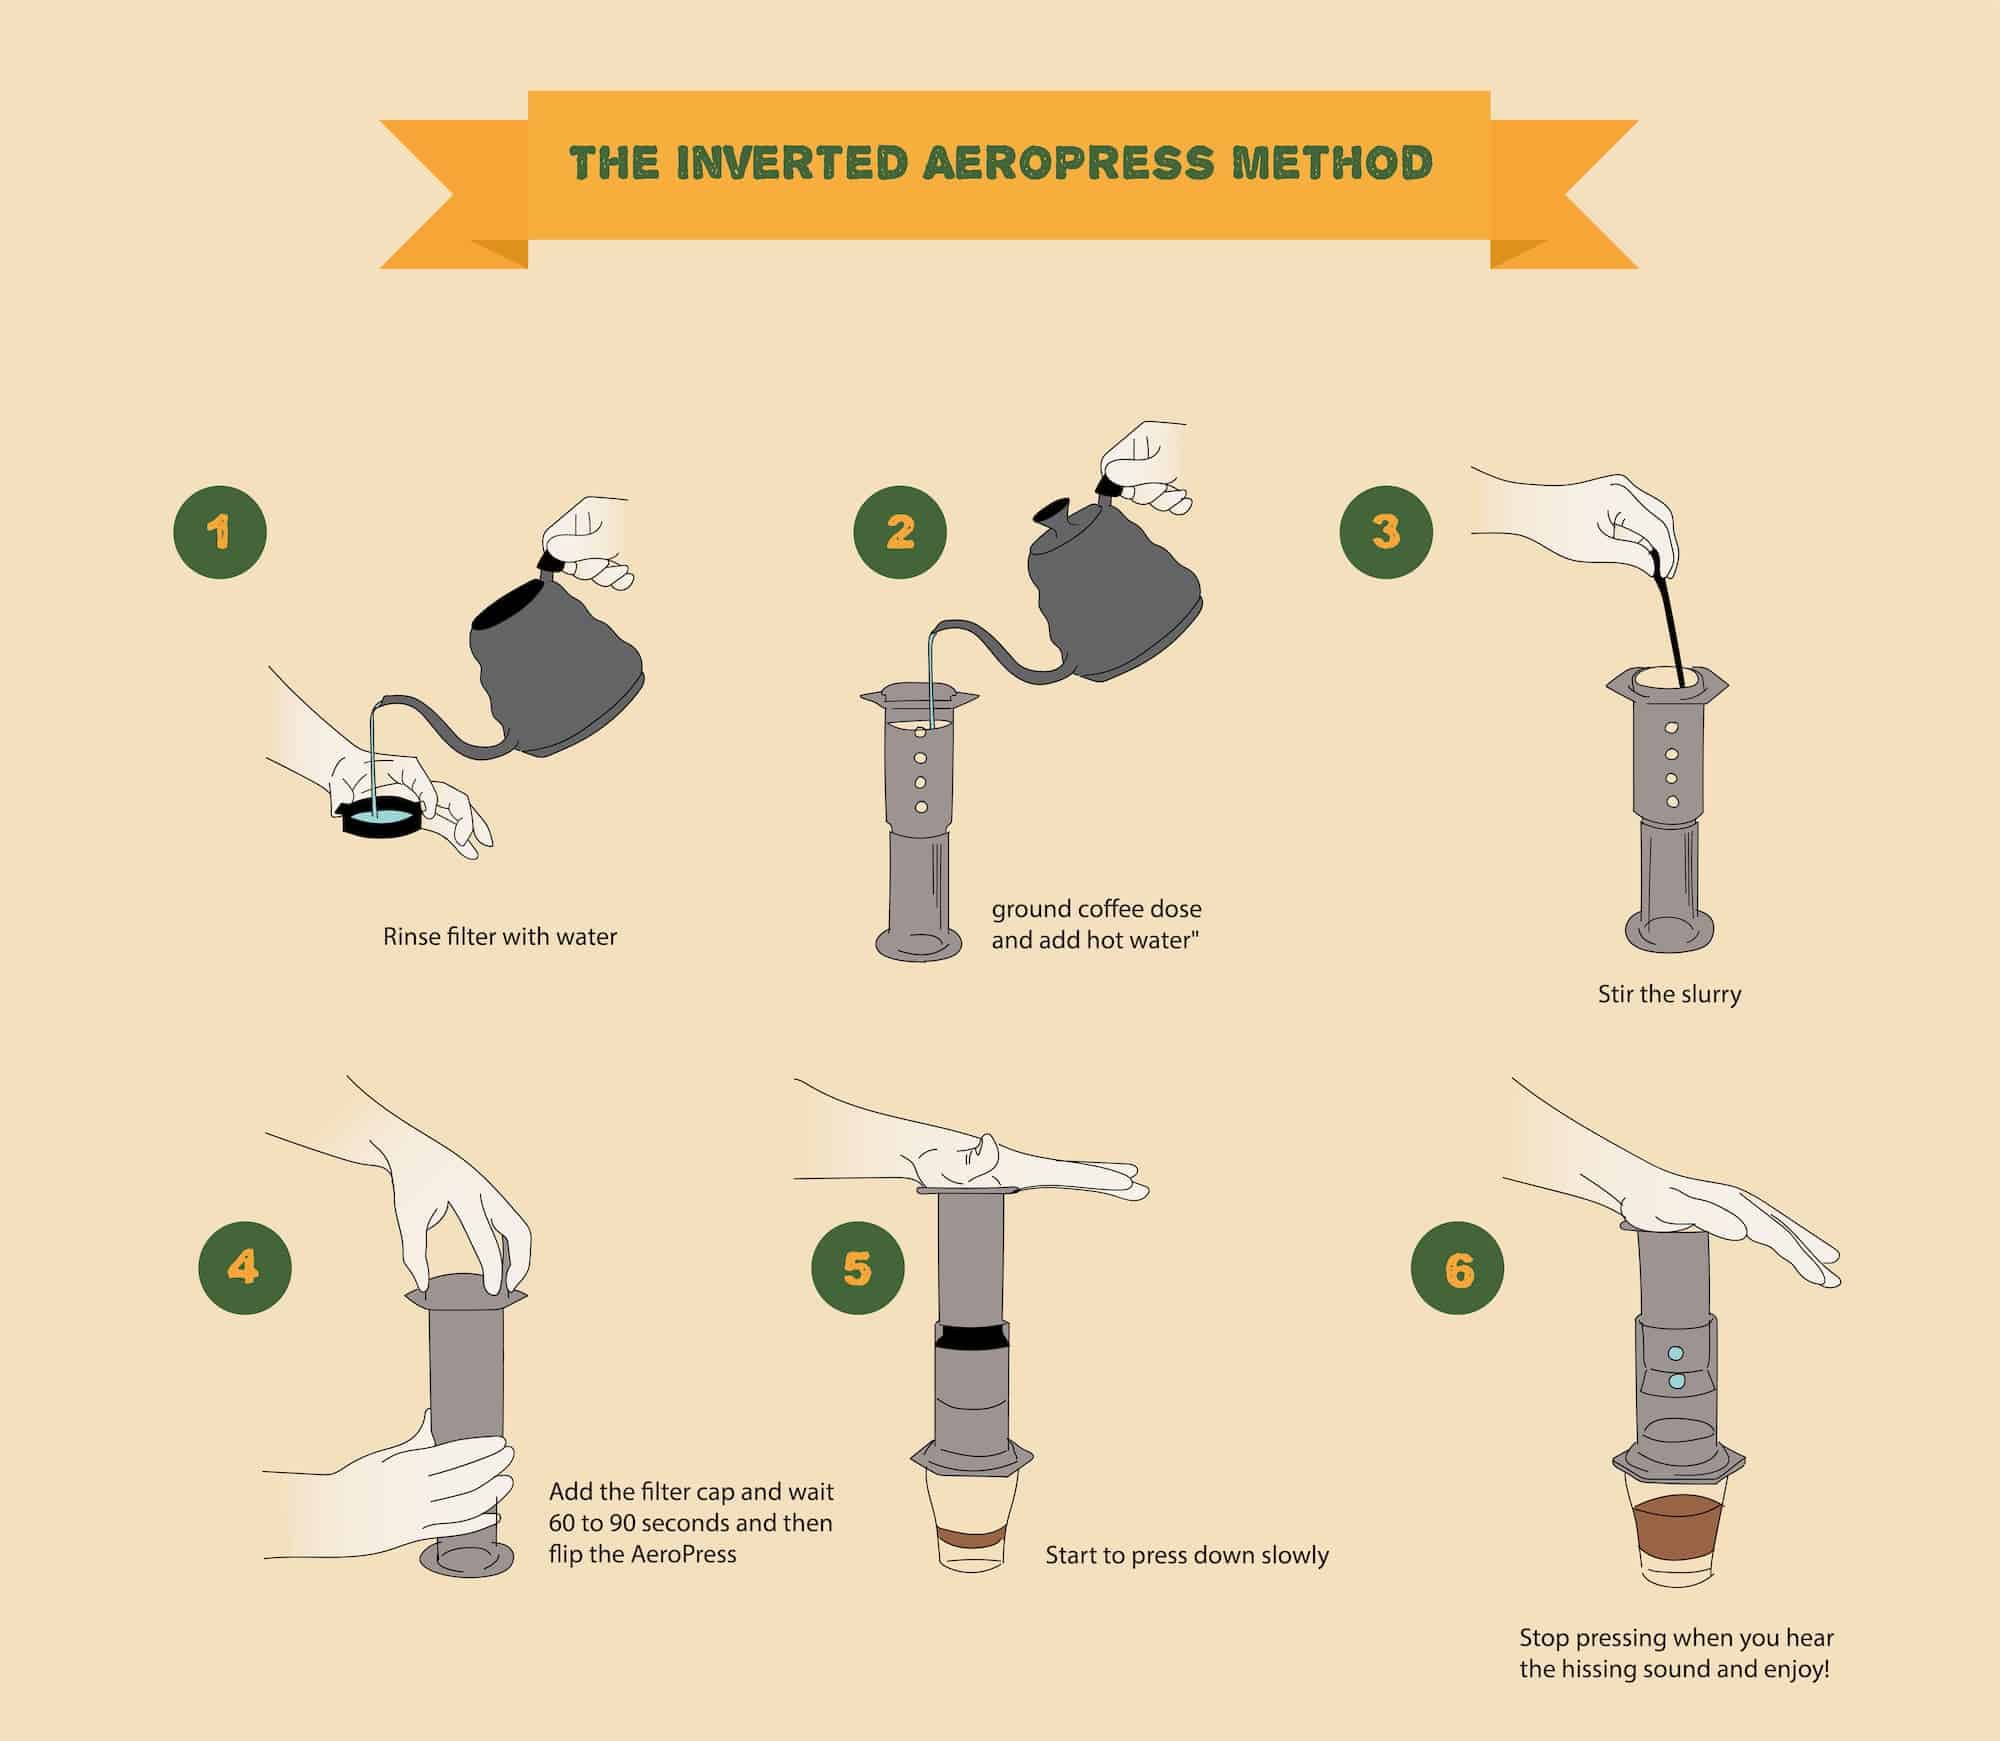
Every World AeroPress Champ (yes, it’s a thing!) for the past 3 years has used their AeroPress in this format during the competition.
It goes a little something like this: first, put a filter in the bottom, rinse it, and set it aside. Push the plunger a couple of centimeters into the AeroPress. Then place the AeroPress on the bench or scales. At this point, the AeroPress will look a bit like a rocketship, ready for its big mission to Mars! Next, add some coffee, then water. Use the paddle to give it a stir, screw on the filter, and wait.
When you’re happy with the brew time, put a cup on top, and in one smooth motion, flip the AeroPress and the cup right-side-up. Now plunge.
Everyone has their favorite method of how to use an AeroPress, for one reason or another. I love to use the AeroPress in the standard configuration.
Why?
Because it’s far more straightforward, and I’m less likely to make a huge mess while doing the flip.
How To Make Aeropress Coffee
Let’s get brewing!
This is one of my all-time favorite AeroPress recipes to use. It utilizes medium-finely ground coffee, a little coarser than espresso, and is brewed fairly quickly. When I first learned how to use an AeroPress, I experimented with hundreds of different times and particle sizes.
I found that if the coffee particles are fine, I can brew for a shorter amount of time, and I can agitate the coffee less. Likewise, if the grounds are coarse, I can brew for a longer time, and I can mix the coffee more. Each format will produce a great cup. You just need to find the right balance between time and grind size.
For the best cup of coffee, I recommend using a light to medium roast. The AeroPress really brings out the full sweetness of a medium roast and the brightness of a light roast.
For this recipe, we will use a burr coffee grinder to grind the coffee, and a set of scales to keep things precise. For those playing at home who don’t have either of these, no worries. You can use the AeroPress on its own and still make a killer cup of coffee.
Below is a step by step guide:
1. Measure and Grind the Coffee Beans
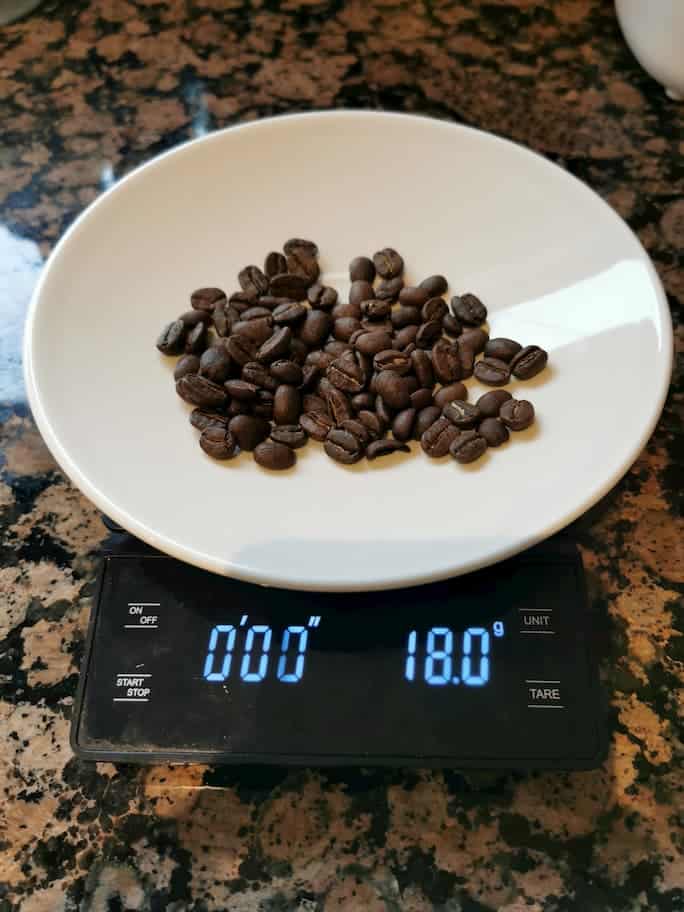
First, measure out 18 grams of coffee beans. If you aren’t using scales, go for 3 tablespoons, or 1¼ AeroPress scoops.
Grind the coffee beans at a medium-fine setting, around the texture of beach sand or table salt. If we make the coffee grounds too coarse, similar to a French press, we won’t extract enough from the coffee.
The resulting brew will be weak and lacking sweetness. If our grounds are too fine, we might block the filter.
2. Get the AeroPress ready
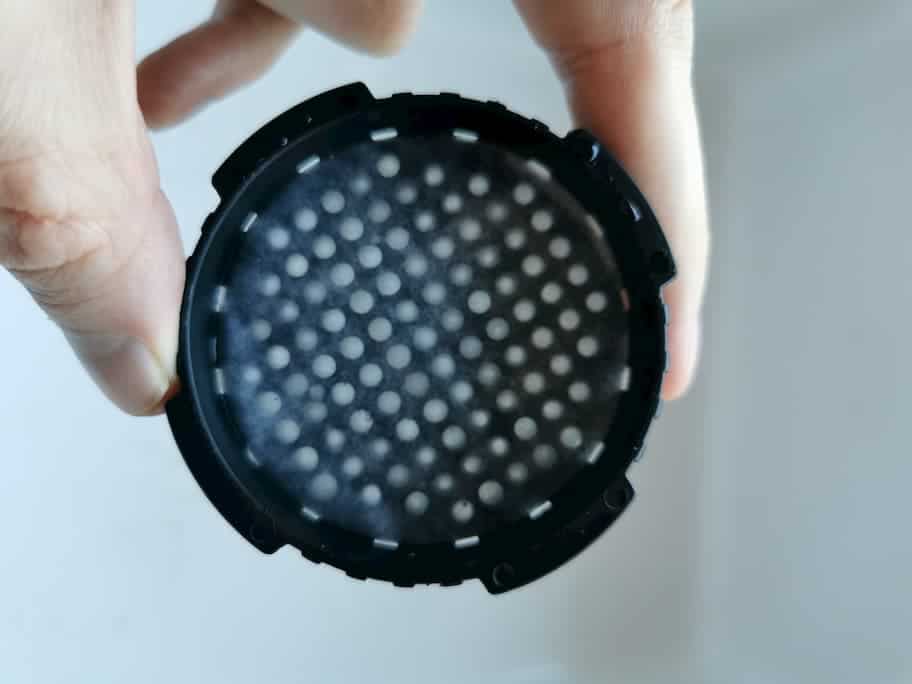
Add a paper filter to the cap and twist it into place on the brewing chamber. Sit the brewing chamber over the mug and pour some hot water through it.
This will simultaneously pre-heat the AeroPress, and rinse the filter of any paper taste. Discard the rinse water.
3. Add the coffee
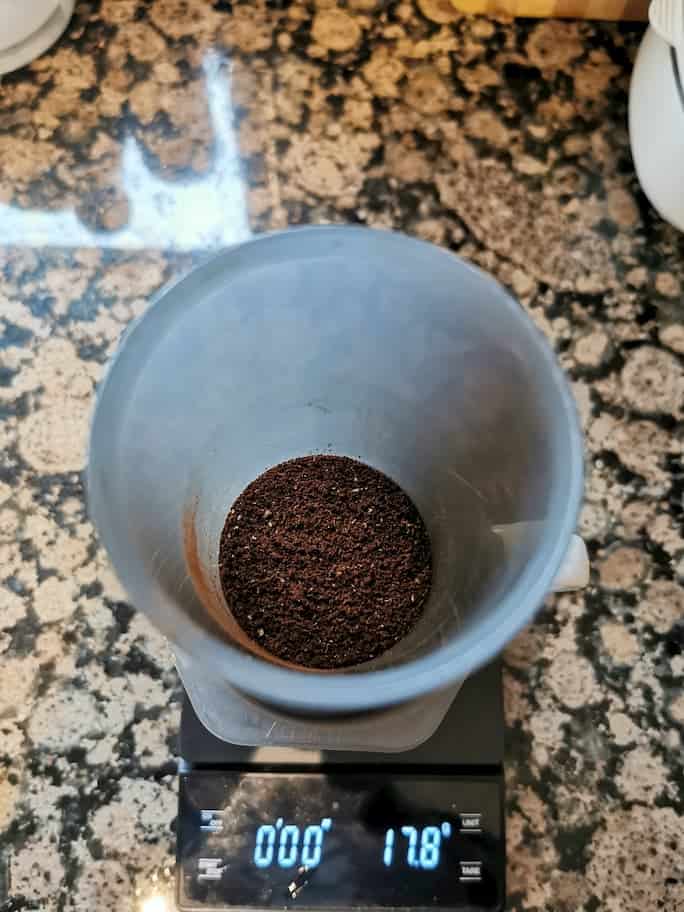
Put the AeroPress back onto the mug and add the coffee grinds. Even out the coffee bed by giving the AeroPress a little shake from side to side. Transfer the AeroPress and the mug to your scale and press tare. Get the timer ready to go.
4. Add Water

Now we’re ready to add our water. We want to use water that is around 97°C. To get there, heat the water to boiling, then let it cool down for about a minute if you don’t have a thermometer.
Press start on the timer and quickly pour 250 grams of water over the coffee. If you aren’t using scales, pour water to just above the top of the number 4 on the brew chamber, which will be close to 250 grams.
5. Stir
Take your AeroPress paddle and stir the slurry (sounds gross, I know, but slurry is what we call it when coffee and water are gloriously combined).
We should only stir the slurry 3 times.
Stirring too much will make the coffee more bitter and dry than we want it. Dip the paddle into the AeroPress all the way down to the bottom. Pull it toward you, then push it away, then pull toward you again. Then take it out. 3 stirs are all we need right now.
6. Insert the Plunger and Wait
At an angle, insert the plunger into the AeroPress, then pull back on it slightly. Pulling back on the plunging piece will create a seal, stopping the coffee from dripping out too soon. Let the coffee brew until the timer reaches 1 minute and 30 seconds…Yup wait and do nothing!
7. Stir and Plunge
As soon as we reach 1 minute and 30 seconds on the timer, remove the plunger and stir the slurry 3 more times. Just like we did before. Then fit the plunger into the brew chamber and gently press down.
Keep pressing all the way through. You’ll hear a hissing sound, and you can either keep pushing until you’ve got all the coffee or stop at the hiss; it’s more of a preference thing. You should be completely done plunging by 2 minutes.
If plunging is too hard and takes much longer, you may have ground your coffee beans too close to an espresso setting. You should go a little coarser.
8. Pop out the Coffee Grounds
The AeroPress coffee maker is ridiculously easy to clean. Simply unscrew the cap, and press the plunger further to pop the coffee grounds out.
Rinse the AeroPress using some hot water to remove any leftover grounds and coffee oils. All this takes less than 30 seconds!
Enjoy your sweet, clean cup of coffee!
Frequently Asked Questions
What grind do you use for the AeroPress?
The best way to grind coffee for the AeroPress is in a medium-fine setting. Go for the texture of table salt. Not quite as fine as espresso, but finer than what you’d do for a V60.
What do the numbers mean on the Aeropress?
These numbers on the side correspond to the original AeroPress recipes that came with the AeroPress. The idea is to add one AeroPress scoop of coffee grounds, then fill the AeroPress brewing chamber to the number one using water. Use two scoops and fill to the number two.
These recipes were designed to brew a strong, espresso-like shot of AeroPress coffee. These numbers are a decent guide for people unsure of how to use an AeroPress without scales.
Can you use preground coffee in an AeroPress?
You can absolutely use preground coffee in the AeroPress. While freshly grinding a roast is always best, you can’t beat the convenience of preground beans when it comes to backcountry backpacking and if you’re short on time.
If you are using preground coffee, try to make sure the roast date is recent. Preground coffee that is more than one week old might start to taste stale.
Remember, even 10 seconds of exposure to air will begin to degrade great beans!