How To Brew An AeroPress Espresso Shot Recipe
One of the things everyone loves about the AeroPress is its versatility. As an ex-barista myself, I still fall well within this all-hail-the-AeroPress team.
Using this one coffee maker, you can brew various coffee drinks, from cold brew to drip. You can even use this nifty little brewer as a makeshift manual espresso maker..
But how close can AeroPress espresso get to authentic espresso? Let’s find out!
Is AeroPress Good For Espresso?
My current favorite way to make espresso-like coffee at home is with an AeroPress.
It’s a fantastic little brewer, capable of producing some really great coffee. While the results are tasty— surprisingly good even– it can’t build nearly enough pressure to reach true espresso status.
But that’s OK! It doesn’t have to perfectly replicate real espresso to be good. Managing our expectations of the AeroPress is essential when considering how good the AeroPress espresso is.
Firstly, an AeroPress espresso isn’t going to have that intense, crema-laden espresso flavor or texture. That all comes from the pressure produced by espresso machines— impossible to pull with the AeroPress.
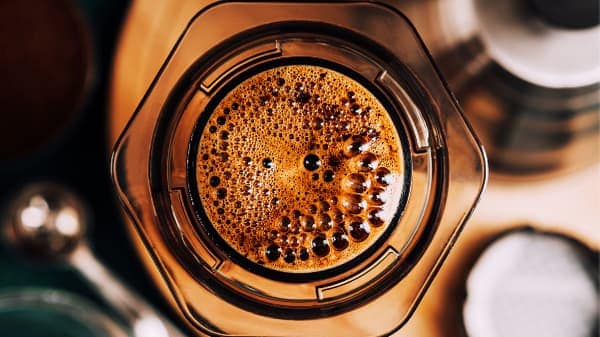
What we end up with in the AeroPress espresso is a strong, concentrated coffee shot.
And that’s perfectly ok if you want a shot for a good cup of something with milk, like a flat white. All we need is that concentrated coffee flavor.
Coffee Beans For Espresso
Because the AeroPress can’t extract the coffee grounds as easily as a real espresso machine can, we need to be careful about the roast that we choose.
Picking the right roast will be the deciding factor as to whether our AeroPress espresso is balanced and sweet or sour and acidic.
Many coffee roasters specifically craft coffee beans for espresso. This is what you’ll want to pick. These coffees tend to be roasted a little bit longer, resulting in a more developed bean.
A bean with more development will be easier to extract with the relatively small amount of water that we’ll be using.
AeroPress Extraction & Pressure
Espresso relies on pressure. That’s what gives it its distinctive strong taste, its rich crema, and its velvety body.
A traditional espresso machine brews coffee at around 9 bars of pressure. This means that it forces water through a puck of fine coffee grounds with a pressure of about 130 pounds per square inch (PSI).
It’s not just traditional espresso machines that can do this. A manual espresso maker like the Flair can also pull these heavy pressures.
Using water under such high-pressure forces lots of different things from the coffee. Acids, oils, and flavor compounds, both soluble and non-soluble materials, are forced out of the grounds as the water passes through the coffee bed.
While the AeroPress can build some pressure, it isn’t even comparable to what these heavy-duty machines can pull.
As the user presses down on the plunger, finely ground coffee creates resistance against the water. The harder you plunge, the more pressure you build.
The AeroPress, through human-powered means, seems to max out at around 1.4 bars. I know this doesn’t sound like that much pressure, but 1.4 bars is really quite impressive for a totally human-powered, plastic coffee maker!
To Hard Press or Not Hard Press?
It would be reasonable to assume that the harder we press, the more espresso-like the shot will be. The issue with this idea though is channeling.
Let’s say we grind some coffee at a fine grind setting and throw it into the AeroPress. We steep our coffee and press down on the AeroPress plunger as hard as we can.
Unless the bed of grounds is perfectly even, the water will flow out of ‘channels’– paths of least resistance.
As our brewed coffee rushes through these ‘channels’, the grounds in these areas are extracted more than the grounds in the other areas. In the cup, this will come across as harsh and empty with very little sweetness. All signs of over-extraction.
While traditional espresso machines rely entirely on pressure to extract goodness from the coffee grounds, the AeroPress does things a little differently. It uses a combination of immersion and percolation.
This means that we don’t need to rely on that much pressure for our AeroPress espresso— the pressure is just an added bonus.
To sum up, you don’t need to press crazy hard when brewing with your AeroPress. Just a gentle press is good. If you are putting your body weight into it, you’re pressing too hard.
AeroPress Shots and Espresso Shots Aren’t Equivalent
To be happy with an AeroPress espresso shot, we need to keep in mind that it is not true espresso, nor can it ever be. If we see it for what it is— a strong shot of filter coffee— then we can start to enjoy it and its own unique flavors.
So what’s the difference between real deal espresso and AeroPress espresso?
The Body
For starters, true espresso shots are full of texture.
In good espresso, there is a reasonably large percentage of dissolved solids. These solids, as well as oils that are forced out of the grounds, are what gives espresso its glorious, syrup-like body.
The AeroPress espresso will be heavier bodied than standard drip brews but not quite to the point of espresso.
The Flavor
Both shots will be strong and packed with flavour, no doubt about it. Both can display delicious sweetness and bright acidity.
The biggest difference between the two, flavor-wise, is in the intensity of the flavors. True espresso is really intense. And while AeroPress espresso shots can be super strong, they don’t have the intensity of espresso.
They’re certainly not mellow by any means, but they’re just not at that espresso level.
How to Make Espresso With The AeroPress
For this AeroPress espresso recipe, we are going to use the brewer in what is known as the inverted method.
Brewing like this will allow the coffee and the water to infuse for longer in the brewing chamber. This AeroPress espresso recipe will give us a sweet, strong shot, perfect to pair with milk or ice.
Note: Don’t be too concerned if you don’t get much crema. Crema is overrated anyway!
What You’ll Need
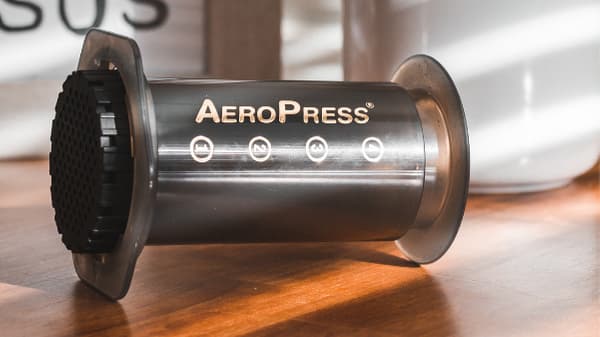
- AeroPress
- Stirrer
- A metal or paper filter
- 18 grams of medium roast coffee
- Scales
- Timer
- Hot water
- Mug
AeroPress Espresso Recipe
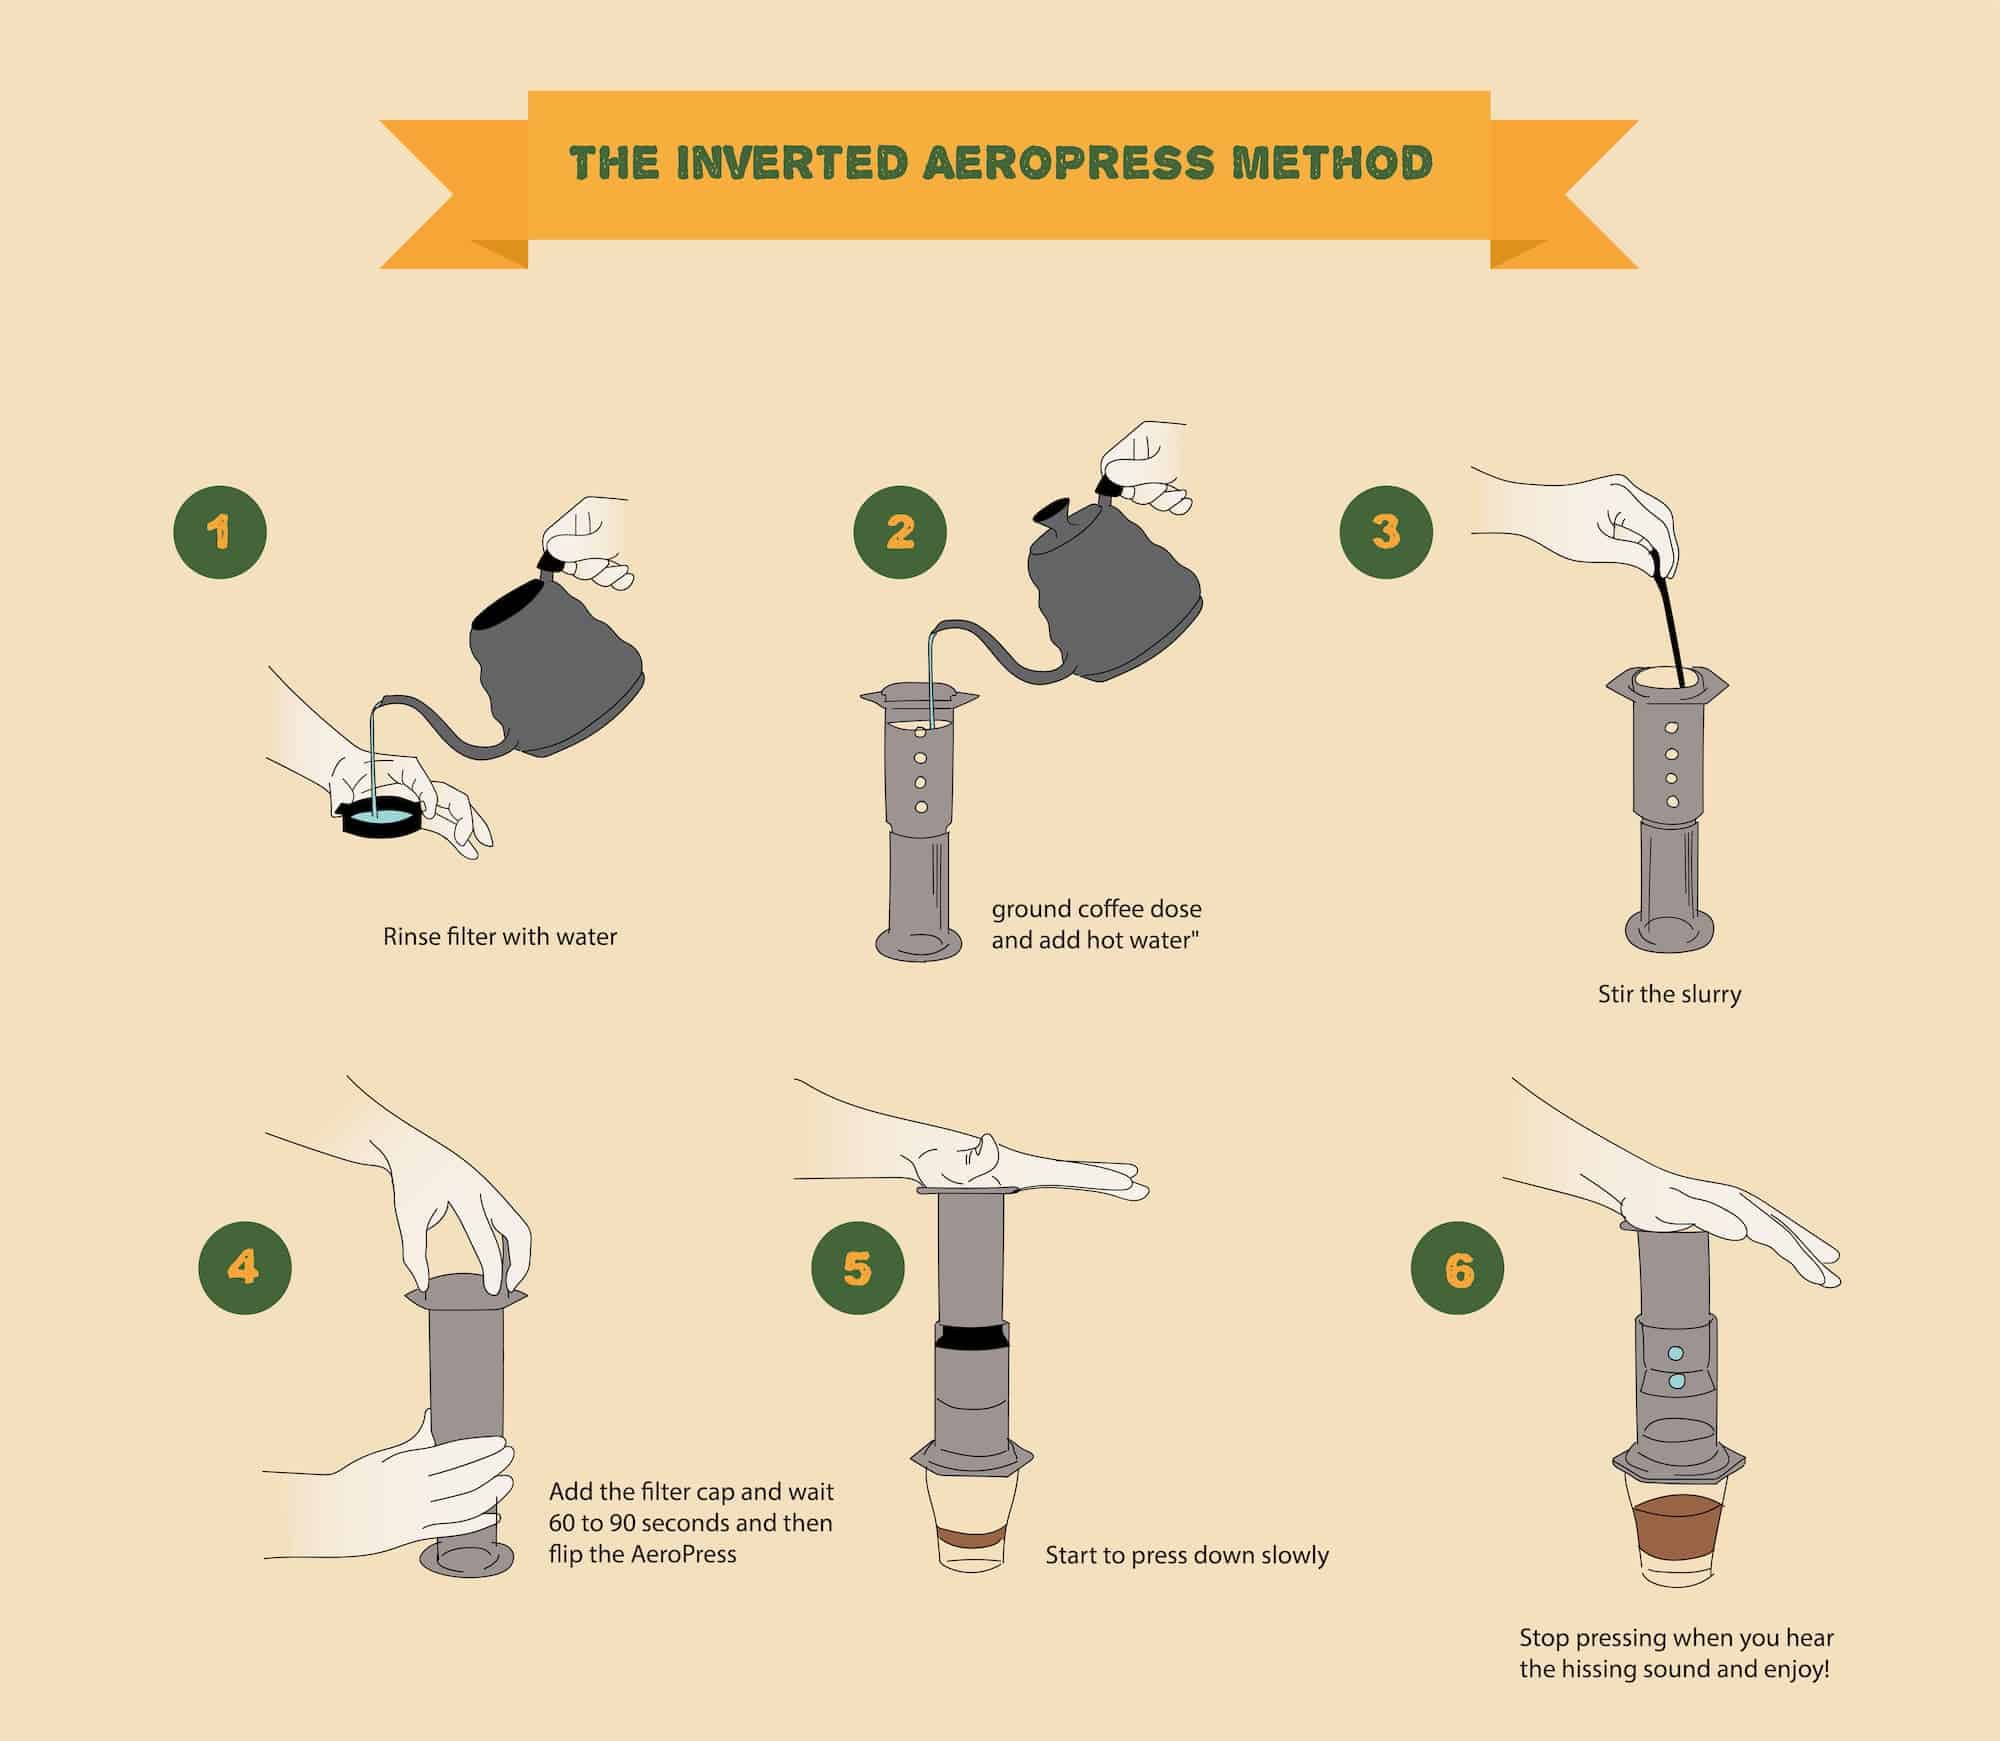
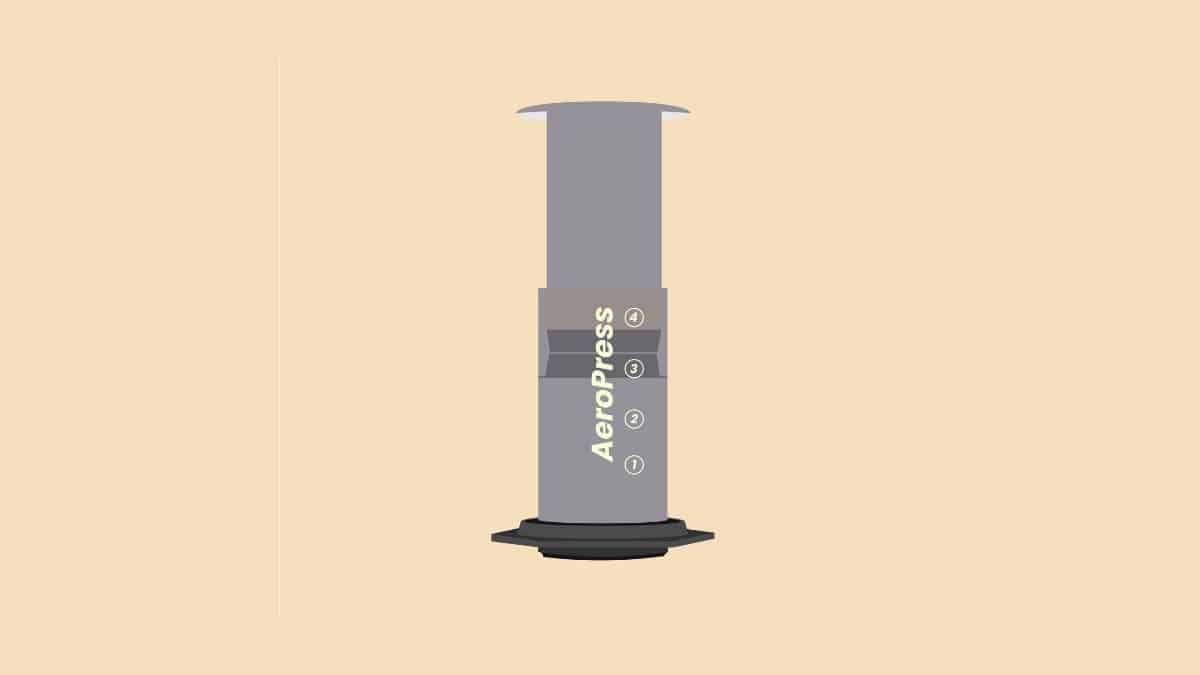
Step 1— Preheat the AeroPress
Insert the plunger into the main chamber about halfway.
Stand it on the bench, so the base of the plunger is now the foot of the AeroPress. Fill it up with hot water and let it preheat. Place your paper or metal disc in the filter cap and rinse it.
Step 2— Grind the Coffee
Weigh out 18 grams of beans and grind it at a fine grind setting.
Don’t go quite as fine as your would for espresso. We’re wanting a fine setting around the texture of table salt. This will take some experimentation to get right. You can always adjust your grind size for next time.
Step 3— Brew
Discard the rinse water from the AeroPress and stand it on the scales.
Add the ground coffee and press tare on the scales. Ensure your water temperature is as hot as you can get it. This will help maximize our extraction in the short brew time.
Press start on the timer and add 90 grams of water. Remove the AeroPress from the scales and stir vigorously for 30 seconds. Screw on the filter cap, then wait 90 seconds.
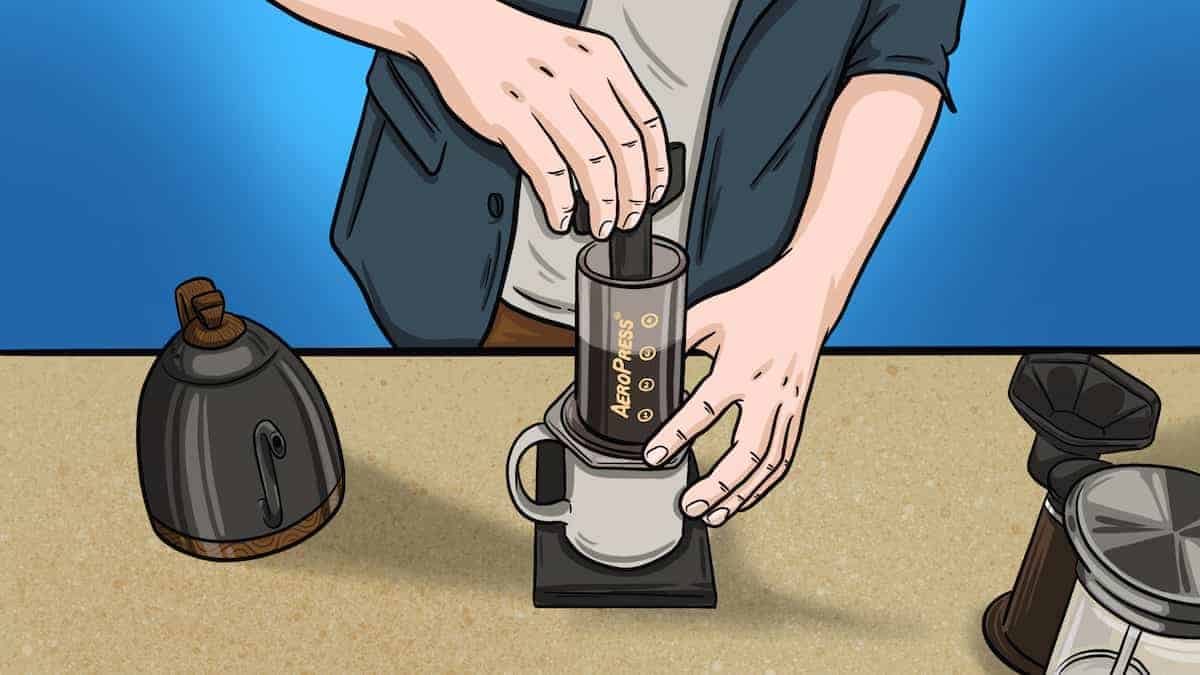
Step 4— Plunge
Once the timer is at 2:00, place a mug on top of the AeroPress.
Then in one smooth, very careful motion, turn the AeroPress and the mug, so the mug is now on the bottom.
Wait a few seconds to let all the grounds sink, then slowly and gently press down on the plunger. The press should take around 30 seconds to complete.
And that’s it. Enjoy your tasty AeroPress espresso with steamed milk or over ice!
Your Filter Matters
Filters affect the flavor of AeroPress coffee more than you might think.
It’s all to do with the amount of coffee stuff that gets through the filter and into the cup. The more oils and solids that make their way into our final drink, the heavier the shot will be.
When choosing an AeroPress filter, you have two options. Metal or paper. They taste worlds apart from one another, but both options can produce great coffee.
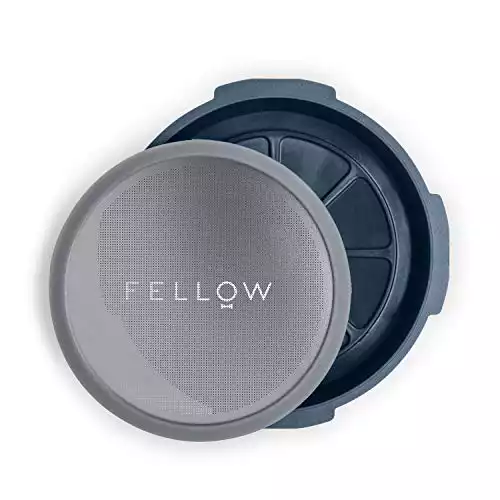
Metal
Metal filters, like the Able Disc and the Primso, allow through all of the oils of the coffee and many fine particles into our beverage. And that’s precisely how metal filtered brews taste— full, heavy, and rich, with a slight grittiness to them.
Using a metal filter will get us closer to espresso than a paper one would.
Paper
Paper filtration is the best way of brewing clean, transparent coffee.
Because the fibers of the paper filters are finer than a metal filter, they block many of the tiny particles and oils.
Without these undissolved solids and oils in the cup, we end up with a super clean cup of coffee without the muddiness of one that has been filtered with metal.