How to Grow a Coffee Plant: The Ultimate Guide
If you have a deep and passionate love for coffee, growing your own coffee plant can be a rewarding hobby.
It will help you understand the beverage, giving new meaning to the phrase cup clarity.
These shiny-leafed plants are also beautiful air purifiers when grown indoors.
Read on to learn how to grow a coffee plant. I’ll also explain where to get seeds, how to ensure fruit production, and when to expect beans.
Can I Grow a Coffee Plant at Home?
Yes! It takes preparation and patience. But you absolutely can grow your own coffee plant at home — regardless of where you live.
Coffee plants can grow indoors or outdoors. So whether you have a massive backyard garden or a tiny apartment, give it a grow.
Growing a Coffee Plant: What You Need to Know
Many coffee lovers dream of endless beans and experimentation. While growing your own coffee plant can be amazing, it’s not for everyone.
Before we get ahead of ourselves, let’s clarify a few things about coffee plant care. That way, you can have realistic expectations about yield time and how much work it takes to nurture them.
Coffee plants grow to be about 6 feet tall and 3 feet wide. Wherever you decide to grow yours, you’ll need to allocate enough space to allow full growth.
Coffee plants do best in a high-elevation, tropical climate. Unless you live in a coffee-growing region, you’ll likely need to grow your plant indoors or in a greenhouse.
Controlled spaces will let you adjust growing conditions to imitate the ideal climate. (I’ll explain these adjustments in the next section.)

Coffee plants take around 2-3 years to grow to their full size. And it will be another year after that before they begin to flower.
It can then take 12 more months before those flowers produce coffee cherries. So growing coffee is a long process, and we’re only at the beginning.
Once mature, a coffee plant will produce an average of 4,000 cherries yearly. This yield equates to roughly 2-3 pounds of coffee beans.
For the sake of visualization, let’s say it takes about 1 oz of whole coffee beans to make a 12 oz cup of coffee. If you drink one coffee a day, you would need 365 oz (just under 23 lbs) of beans per year.
In other words? If you’re a regular coffee drinker, you’ll need to plant something like 7-12 trees to meet your yearly needs.
It’s also important to note that the bark and foliage contain saponins. These natural compounds are poisonous to pets (and to humans in higher quantities). You’ll want to ensure your pets or small children can’t access the plant.
How to Grow a Coffee Plant at Home
Now that you know what to expect, let’s get into how to grow a coffee plant at home.
Coffee Seedlings
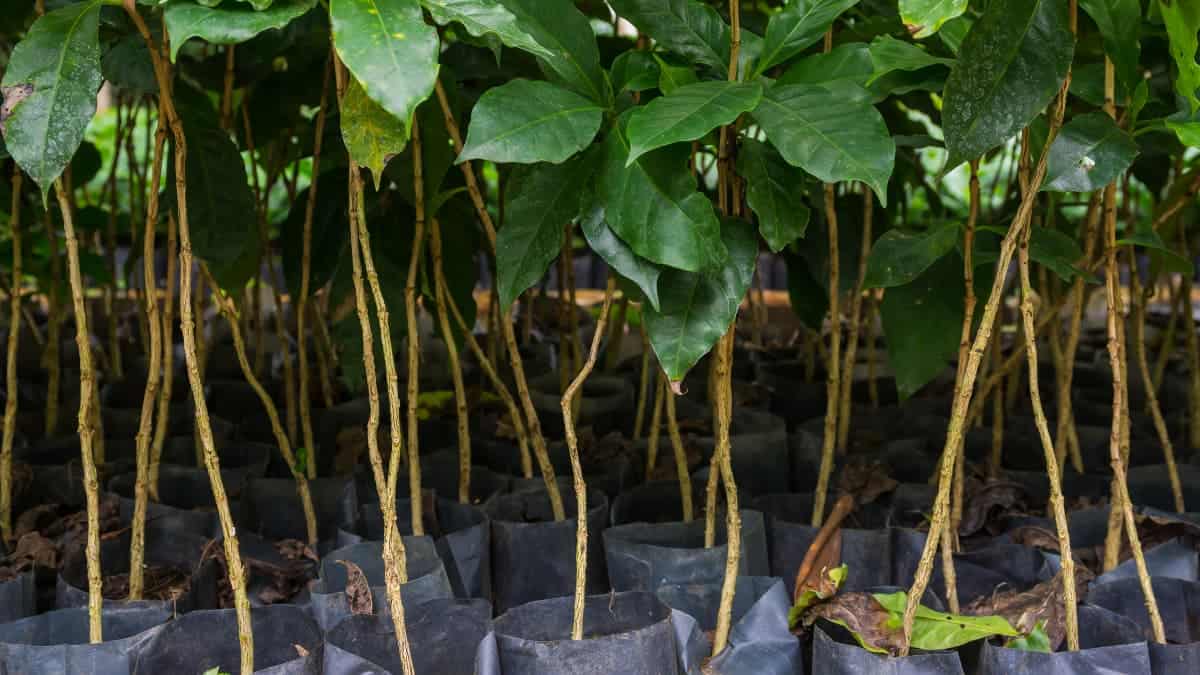
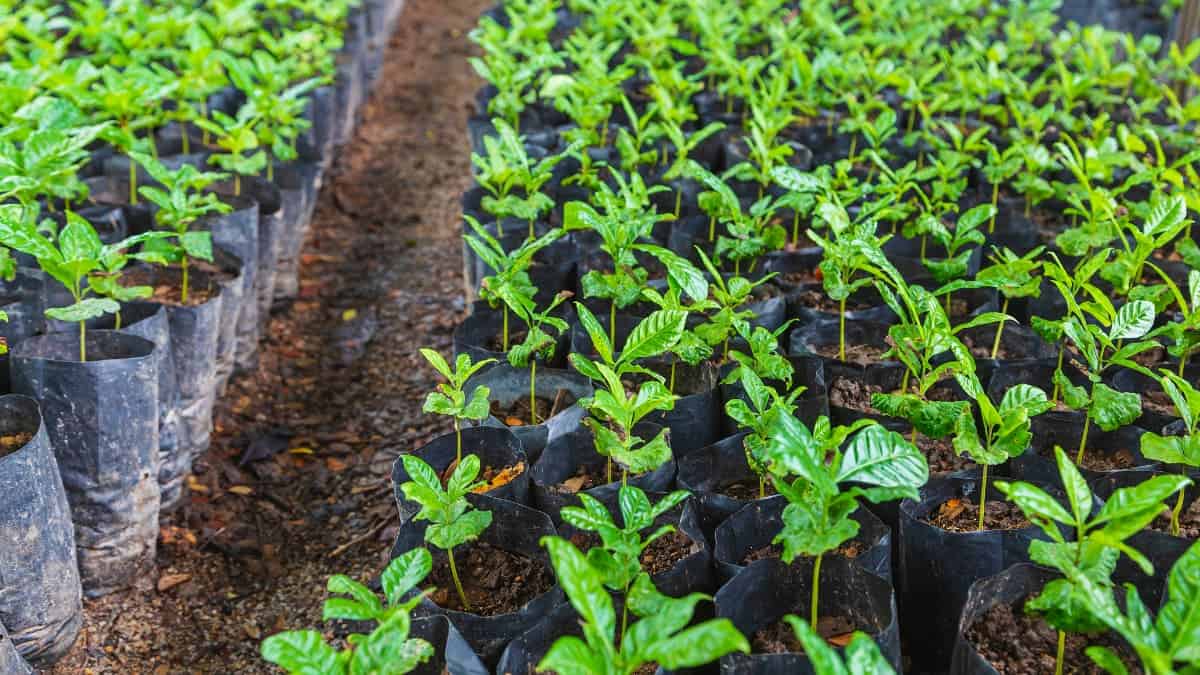
You can either start your coffee plant from seed or seedling. If you’re a beginner, I’d recommend planting from seedlings. They give you a head start and a better chance for success.
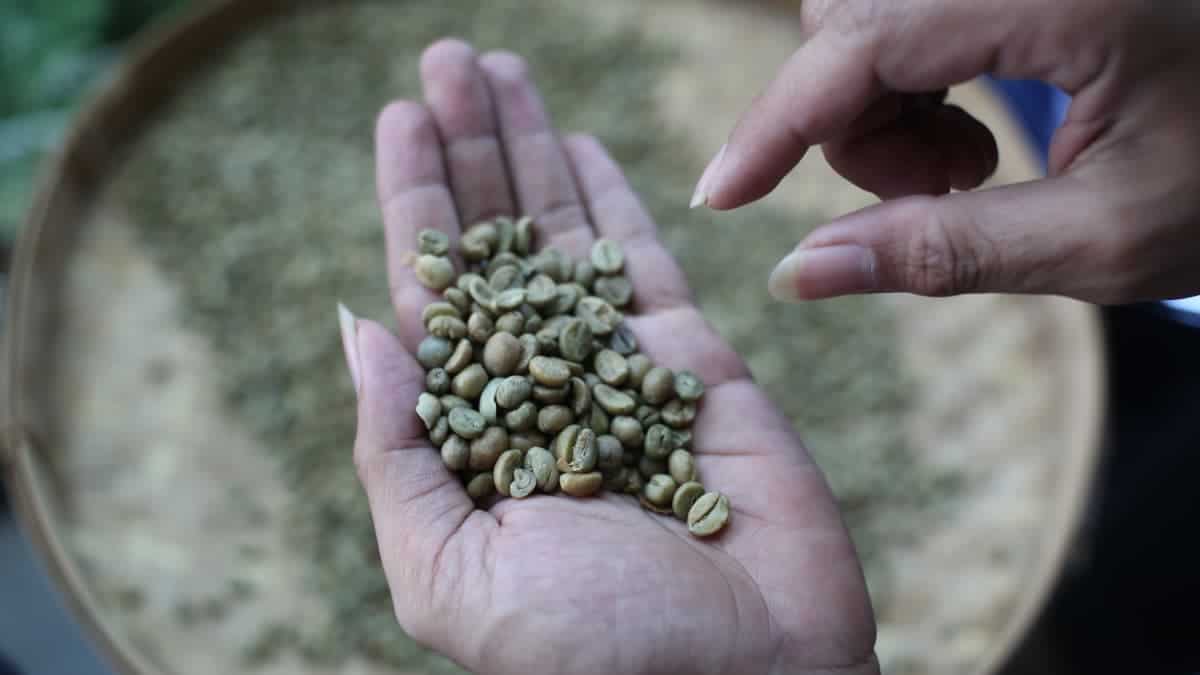
If you choose to use seeds, you’ll need to find some fresh coffee cherries or green coffee beans.
A few things to keep in mind: 1) Make sure that all the outer parchment on the green beans is intact. 2) You can buy green beans for roasting, but these aren’t typically best for potting. 3) It’s not possible to grow a coffee plant from a roasted bean.
If you’re buying a seedling, choose one that looks strong and healthy.
Whether you start from seed or seedling, make sure it is from an arabica coffee plant. Generally speaking, arabica plants produce much tastier beans than robusta plants.
The Kentucky Coffeetree is not the same thing as a coffee plant.
Grow Location
Now that you’ve got your seed or seedling, you’ll need to find a place to plant it.
Generally, your best bet will be to grow your coffee plant indoors or in a greenhouse. Fluctuations in weather conditions, temperature, and humidity aren’t good for your plant.
Place the plant somewhere it can get plenty of indirect sunlight. Direct exposure to the rays can damage foliage and stunt growth.
You’ll also need to allocate the right amount of space. These trees can get a bit larger than your average houseplant.
Planting the Coffee Plant
After getting your seed or seedling and deciding where it’ll grow, it’s time to plant it.
The first step is to gather the necessary supplies. You will need:
- Coffee seeds or seedlings
- Potting soil
- Spray bottle or watering can
- 4 and 6-inch pots with good drainage
If you’re starting from green coffee beans, you’ll begin by filling the 4-inch pot ¾ of the way with potting soil. Place the seed on the soil, then fill the pot the rest of the way up.
Make sure you don’t press down on the soil, as this compacts it and can smother the seed. Compacted soil can also lead to decreased aeration and increased water retention. In some cases, it will also increase the risk of nutrient imbalance and disease.
Look for rich, peat-based potting soil with excellent drainage. Coffee plants prefer acidic soil, around 6-6.5 on the pH scale.
If your plant isn’t growing, add some organic matter. Sphagnum peat moss can help lower the acidity and make the plant more comfortable.
Starting from a seedling is easier; the plant has already grown a bit and is thus more resilient. But it’s still important to get it into a new home as soon as possible.
Most seedlings you buy at a store have already outgrown their pots. They will likely have already used up the nutrients in this soil.
Unless the seedling is very, very small, it’s a good idea to repot the plant in a 6-inch pot. This size gives it plenty of space to grow without running the risk of overly moist soil, which can cause root rot.
Coffee Plant Needs
Now that you’ve got your plant in the ground, you’ll need to take care of it. This maintenance will impact how well the plant grows to the amount and frequency of fruit it bears.
Here are a few things you’ll want to have on hand.
- Watering can or spray bottle
- Pruning shears
- Fertilizer
- Pot one size bigger than the one you planted in
Let’s look at the coffee care regimen.
Water
A coffee tree is happiest in moist soil with good drainage. There shouldn’t be water pooling in the soil, but you also don’t want it dry or crumbling. Between these two is the goldilocks zone you should strive for when you water your plant.
This sensitivity is why it’s so important to choose the right pot and the correct potting soil. (The potting soil should allow for proper water drainage. The pot should have drainage holes.)
You also have to choose the right pot size. If it’s too small, the soil will dry out too quickly. If it’s too large, the pot won’t drain properly.
If you don’t water enough, your plant’s leaves can droop or drop and may lose some of their vibrance.
Unfortunately, I can’t give you a set-in-stone watering schedule. The timing will vary depending on your climate, the time of year, and your individual space. Eventually, you should develop a schedule that meets the needs of your own coffee plant.
Start by watering once a week and go from there. Test the dryness of the soil, and adjust watering based on how it feels.
Humidity
The coffee plant originates in climates with high humidity. You’ll need to emulate this humidity for the plant to thrive.
You can use a humidifier in the room where your coffee plant is growing. But you might also find success using a pebble tray.
A pebble tray is a small, shallow container filled with pebbles and water. You then place the plant pot on top.
As the water evaporates, it adds necessary extra moisture. The shallow design and pebbles prevent the plant from standing in water.
Fertilizer & Nutrients
Fertilizer isn’t necessary, but it can aid your plant’s development. How much and how often you fertilize will vary. You’ll need to consider the age of your coffee plant to determine the nutrients it requires.
When your coffee plant is younger, you’ll want to use a fertilizer heavier in nitrogen. In its early days, the plant develops a root system, shoots, and greenery. Adding extra nitrogen will help build and strengthen the roots and speed up growth.
Fertilizing every two months can help keep your plant healthy. It can also help prevent yellowing or dropping leaves.
Coffee plants thrive in iron-rich environments. (Think of the mountainous coffee plantations in Hawaii.) To emulate this richness, consider adding lava dust to your soil.
If that’s too difficult to find, you can also use liquid chelated iron. Extra iron helps your coffee plant absorb sunlight and feed itself, maintaining greenery.
When the coffee plant begins flowering and fruiting, add a phosphorous-rich fertilizer. Phosphorus encourages budding and blooming. This process, in turn, can increase your plant’s yield total and frequency.
You’ll also want to check the pH of your soil regularly. Remember, a coffee plant thrives in a slightly acidic environment. The ideal pH falls between 6 and 6.5.
The bottom line is that if your plant isn’t getting taller, fertilizer will help a coffee plant grow.

Repotting Across Time
As your coffee tree grows, it can become too large for its pot. You’ll need to repot more frequently when your plant is in its earlier stages of growth.
Within the first year of growth, you should repot the coffee plant two times. Once when it reaches a height of 8 inches, and then again when it hits 24 inches.
After this, you should only have to repot once a year. Spring is usually the best time to repot.
These timings are a good general rule of thumb. But repotting needs will vary based on your plant. Regardless of how long it’s been since the last repot, there are certain times you need to repot as soon as possible.
If the plant appears to be pushing itself up and out of the soil, you know it’s time to repot. You should also repot anytime you see roots growing out of drainage holes.
Repotting can be traumatic for your tree, so give the plant proper care and attention. Mycorrhizal bacteria or rooting powder can help ensure a smooth transition.
If your plant is currently in a pot 10 inches or smaller, choose a pot 1-2 inches larger. If the pot is larger than 10 inches, choose a pot that is 2-3 inches bigger.
Prune Your Plant
While it might seem counter-intuitive, pruning your plant actually helps it grow! This easy maintenance also helps your plant look good and grow in the right direction.
You should prune your coffee plant at least once a year. Any old hand pruner will work. Just make sure it’s clean.
Start by pruning away any dead branches and leaves.
Next, check the under leaves at the bottom of the plant. These are the parts that get the least sunlight. You’ll want to prune any decaying branches.
Dead, damaged, and diseased parts of the plant take up valuable energy. When you prune these away, you enable your plant to spend energy more efficiently.
You can also prune your plant to encourage growth in specific directions. This guidance can be for aesthetic purposes. Or it can ensure the plant doesn’t outgrow its allocated space. If you keep pruning a plant in a specific direction, it will eventually begin growing that way.
Make sure that any cuts that you make are at a 45-degree angle. This angle prevents water from gathering inside the cuts and causing diseases.
A plant heals best after winter hibernation. So plan to do the majority of pruning work in the late winter or early spring.
Spring is also the time when the plant will begin to develop buds and blooms, which pruning can help promote.
Keep an Eye Out for Disease & Pests
Diseases and pests can devastate your coffee plant and yield. If you notice pests or diseases like coffee rust, eradicate them before they have a chance to spread. Here are a few signs to watch out for.
- Decaying branches
- Dull coloring
- Dropping leaves
- Holes in leaves
- Discoloration on woody growth
- Slowed or stopped growth
As with any other houseplant, coffee plants can attract pests. These can include mites, aphids, scale bugs, coffee borers, mealybugs, and ants.
If you notice any of these signs, I’d recommend you start by decreasing the amount of water. Overwatering causes many of these problems and creates a breeding ground for pests. Fungus gnats especially love moist soil.
If watering less doesn’t fix the issue, you can move on to a mild pest control. A great, natural way to start is neem oil.
Neem oil is a safe and natural insecticide, made from the extract of the neem leaf. Neem oil kills most types of household pests, fungi, and diseases.
Remember to spray either in the morning or early evening. Applying it in the middle of the day can cause the sun to burn the leaves. This is because the neem is an oil extract, not because it’s inherently harmful to the plant.
If neem oil doesn’t work, you can try some mildly toxic garden insecticides. Just don’t go with anything too toxic, as you’re growing something you want to consume.
If you notice brown leaves on your coffee plant, this can indicate a too-humid environment. If the leaves turn yellow and then brown, it can be a sign of root rot, caused by overwatering.
Yellowing leaves are usually a sign of nutrient deficiency. Iron deficiency is the most common one. A lack of magnesium, nitrogen, or sulfur can also cause yellow leaves.
In the case of yellow discoloration, test your soil for any pH or nutrient irregularities. Adjust as needed. A well-rounded fertilizer should correct malnutrition.
Still struggling? Consider taking your coffee plant to a garden store for professional advice.
Harvesting Your Coffee Plant
If all goes well, in a few years, your coffee plant will start producing flowers and coffee cherries.
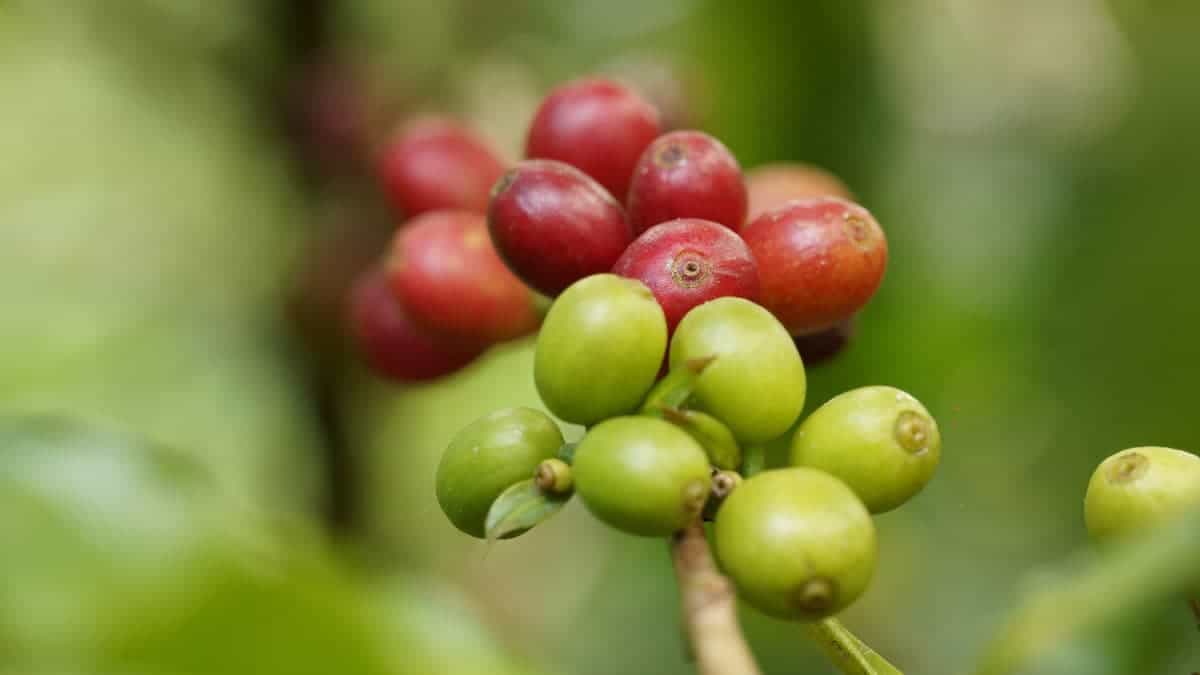
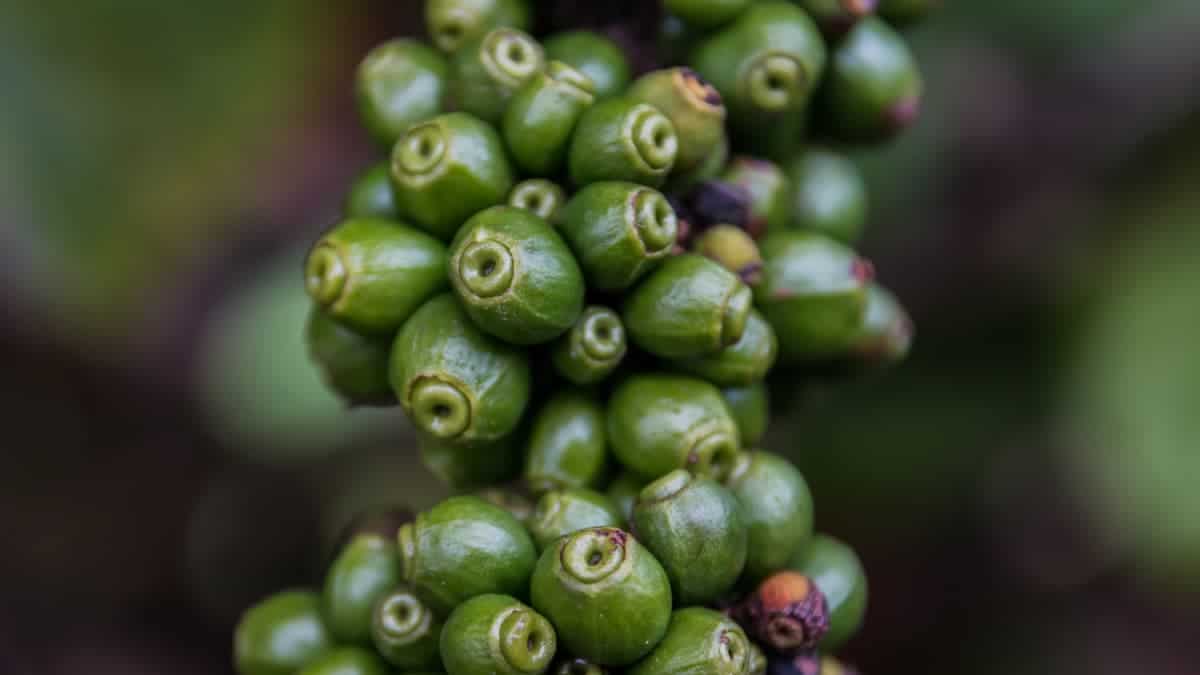
The white, star-shaped blooms are subtly fragrant. These blossoms give way to green coffee cherries, which will ripen to a dark red.
This color indicates they are ready for harvest. Your own coffee plant should yield around 2,000 cherries yearly.
This hull equates to roughly 4,000 beans or 2-3 pounds of coffee beans. While this isn’t a ton, it’s an incredible reward for nurturing your own plant.
Roasting & Brewing the Coffee
Roasting & Brewing the Coffee
You might notice that the fruit you’ve picked looks nothing like a coffee bean. That’s because the bean is actually the seed of the coffee cherry!
To transform the harvested fruit into the coffee bean you know and love, there are a few steps you need to follow. Here’s a quick look at coffee processing.
- Pick the cherry
- Extract the coffee seed (more on this later). There should be two coffee beans in every cherry
- Wash the coffee beans
- Dry the coffee beans completely
- Remove the outer parchment layer
- Roast to taste
- Brew your coffee
- Enjoy your homegrown java!
To extract the beans from the cherry, you can use a mortar and pestle to crush the cherry. The beans are very hard and shouldn’t become damaged by the pressure.
Wrapping Up
Growing your own coffee plant can be a fun and rewarding experience. Still, it’s important to have reasonable expectations for the process.
Developing a coffee plant care routine can be difficult. But if you’re successful, the coffee plant will produce beans to help you get that java fix.
They look great, can give you coffee, and add oxygen to your home. What more could you want?
Frequently Asked Questions
How Often Should I Water My Coffee Plant?
As a general guideline, you should water your coffee plant once a week to start. The frequency will vary depending on the potting soil, temperature, and humidity levels.
It’s best to test your soil for dryness and develop a watering schedule specific to your plant.
How Tall Does a Coffee Plant Grow?
Coffee plants grow to be about six feet tall.

