How To Use A Moka Pot: Italian Stovetop Espresso
You crave a strong cup of coffee in the morning. But spending time making an espresso that early in the day? Probably won’t happen.
Also, you want to brew coffee faster than in a French Press, and you really don’t want the sediment at the bottom. But you still want that intense flavor.
If so, a Moka Pot maybe your dream brewing method. Brewing coffee in this no-fuss coffee maker will give you strong coffee without sediment.
In this article, I’ll walk you through each step of how I brew coffee in a Moka Pot. We’ll also see how you can avoid common mistakes that produce a bitter brew.
How Does A Moka Pot Work?
I have brewed coffee in Moka Pots for many years. Italian friends introduced me to the method, and I quickly fell in love with it. In much of Latin America (where I’ve lived for a long time), you can buy these inexpensive brewing methods at almost any supermarket.
A Moka Pot is such a basic way to brew coffee. In many parts of the world, it’s often simply called “the coffee maker.” As in, there isn’t any other way to brew a cup of Joe.
It sits right on the stovetop, so you don’t need an electrical outlet or special equipment, just the method itself.
Moka Pots use a simple but efficient mechanism for brewing coffee. You add the water to the bottom chamber, place your grounds in the basket, and then screw the top chamber on.
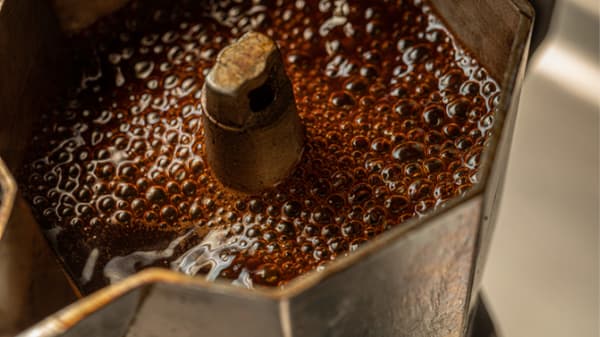
Then it’s ready for the heat. As the water is heated, it passes up through the coffee in the filter basket and gurgles out into the top chamber.
It’s a dramatic and entirely satisfying coffee routine, complete with sound effects.
You may have heard of the popular Bialetti Moka Pot. That’s not surprising since Alfonso Bialetti was the one who invented this brewing method in the 1930s.
Hundreds of millions of coffee drinkers have bought the Bialetti Moka pots since then, confirming that his invention is a delicious way to enjoy a beloved drink.
The original Moka pots were made with aluminum, a metal that was abundant in Italy at the time it was invented. Now you can purchase aluminum or stainless steel versions.
Moka Pot Coffee Is Strong
Why Is Coffee Made In A Moka Pot So Strong?
Moka Pot coffee is especially loved by people who crave a strong cup of joe. The same as with an espresso machine, the secret to its strength is in the pressure.
Although they are often called stovetop espresso makers, they don’t actually brew espresso. They don’t reach anywhere near the 9 bars of pressure necessary to make a true espresso (they hover around 1 to 1.5 bars of pressure).
That doesn’t mean they’re not fantastic brewers, though. The pressure that builds up due to the steam creates an intense, full-bodied cup of coffee without all the cost and fuss of espresso machines.
What Coffee Works Best In A Moka Pot?
When you’re searching for the best coffee to buy for this brewing method, consider two major variables: what roast you should buy and how you should grind it.
Related Read: Best Moka Pot Coffee
While Italians traditionally have used very dark roasts, a medium to dark roast does quite well in a Moka Pot. You might want to choose Italian brands that are created for brewing in this method.
This coffee brewing method doesn’t extract delicate flavors or light body. So a light roast might seem a bit insipid. A medium-dark roast of specialty coffee can result in a sweet, pleasant cup.
For grind size, a medium grind is good. However, you don’t want the fine grind you use for espresso since Moka Pots take longer than espresso machines. A fine grind would over-extract during that extended brewing time.
You also don’t want a coarse grind, which won’t extract well enough in the shorter brewing time.
How To Use Your Moka Pot
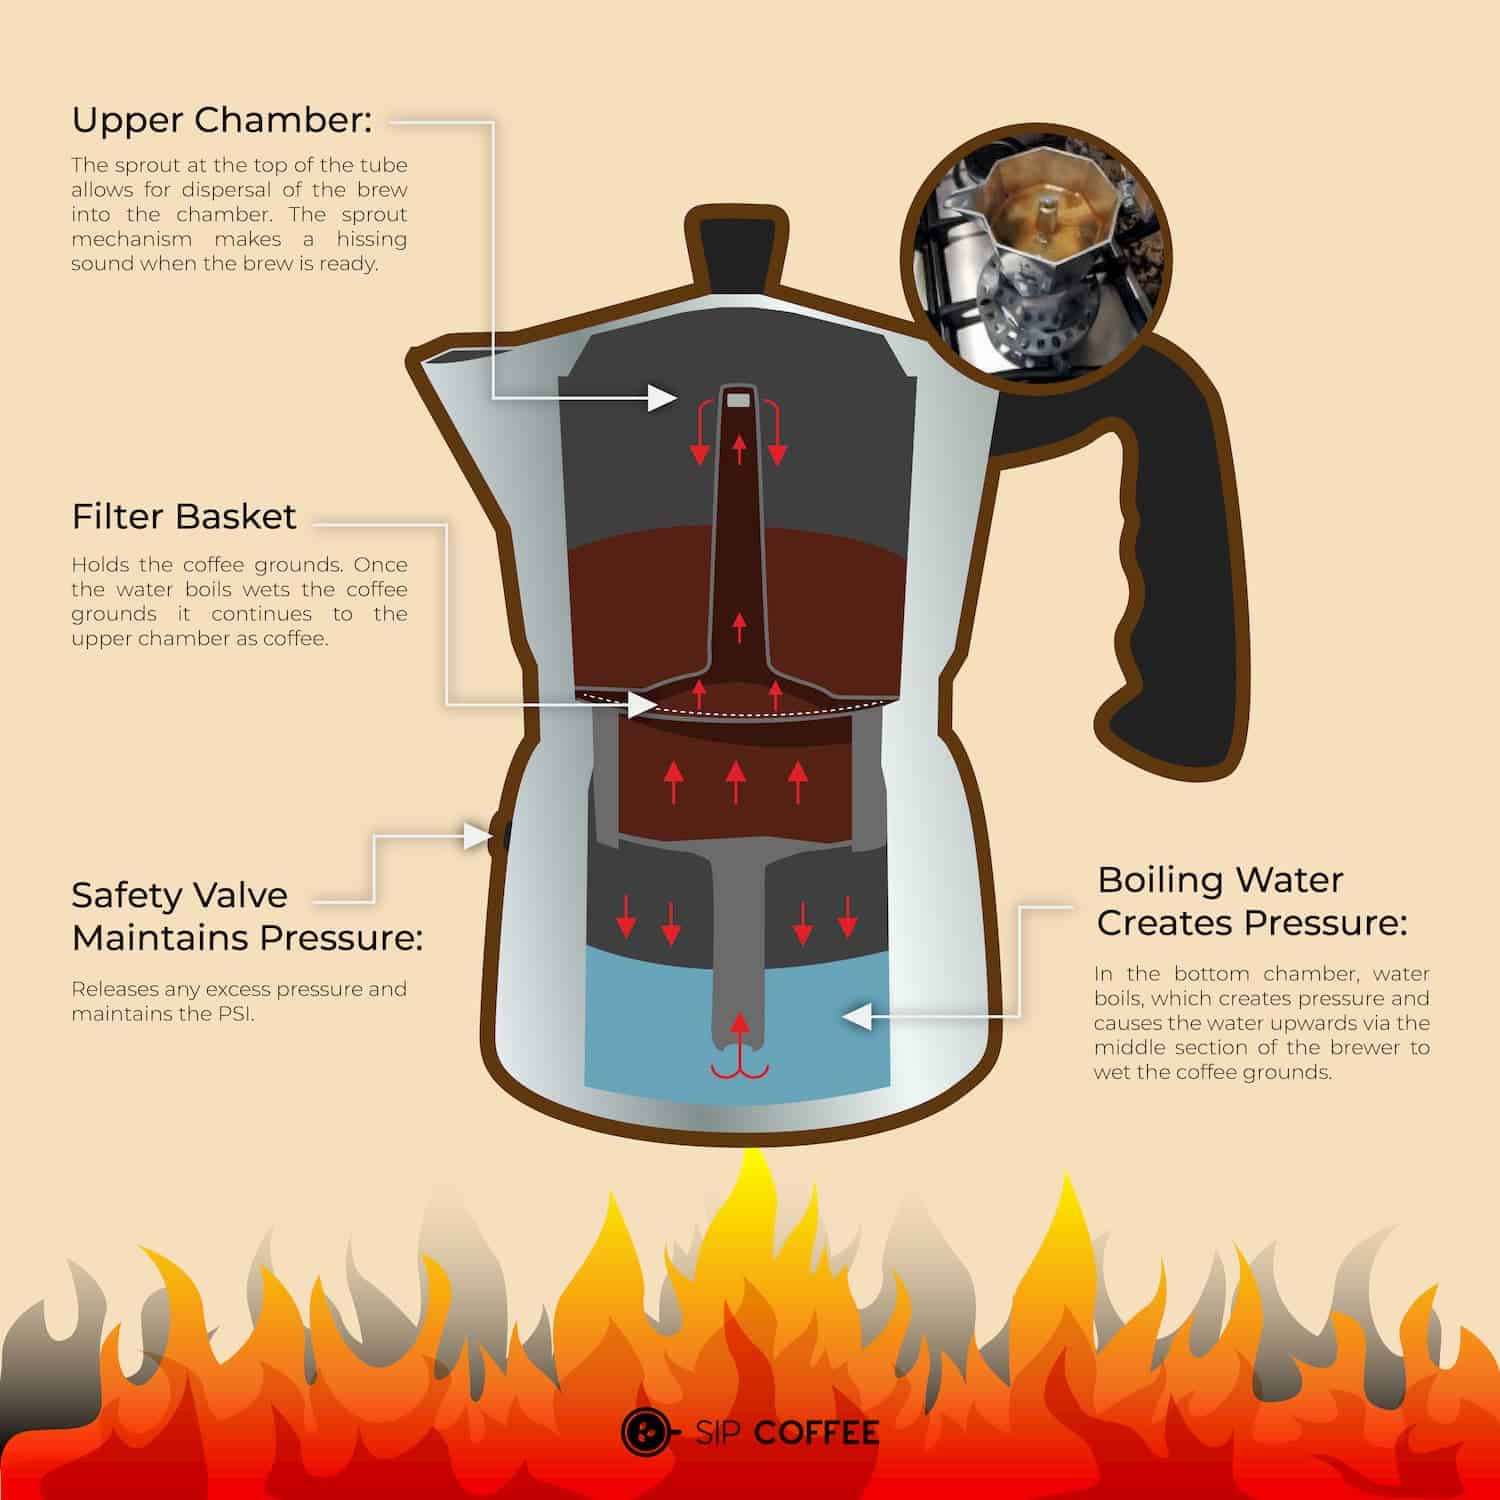
A Moka Pot is composed of just three metal parts; a bottom chamber, a filter, and a top chamber with an attached lid.
Those three parts assemble to create one brewing method. That makes it easy to use and easy to maintain. How does it work?
You start with the bottom part, adding water up to the fill line. Then set the coffee basket in place and add the grounds.
Then screw on the top chamber. You’ll notice that inside the top chamber, there’s a stem-like tube that reaches up to the top. We’ll be talking about that tube in a minute.
Now the stovetop espresso maker is ready for action.
When you place the coffee maker over a heat source, the heating water creates steam. That steam increases the pressure in the bottom, which forces the water up through the filter.
Usually, this heat source is a stovetop which is why it’s also called a stovetop espresso maker.
The water then saturates the grounds. Then, as the pressure continues to build, it forces the liquid up the tube and out, where it gradually fills the top chamber.
Making Stovetop Espresso Checklist
You don’t need a lot to make stovetop espresso. Here’s the list:
- Moka pot brewer
- Ground coffee or whole coffee beans
- Water
- Stove burner or another way to heat the brewer
- Coffee grinder, if using whole beans
- Spoon and cups
How To Make Stovetop Espresso
Here’s my step-by-step guide to brewing the best stovetop espresso:
Step 1
Prepare the grounds. Use a medium to medium-dark roast, although you can vary the roast according to your taste.
Either use beans that are already ground or grind whole beans just before brewing. If you’re using a coffee grinder, set it to a medium-fine consistency.
Step 2
Now you add the water to the bottom part. The ideal coffee to water ratio is 1:10. So, for every 1g of coffee, use 10 grams of water.
Generally, fill the bottom area up to the pressure valve. Don’t cover the valve because it doesn’t work when it’s submerged.
Step 3
Add the grounds. Place the filter basket on the bottom section and fill it with coffee. Don’t tamp the grounds. Simply scoop the grounds into the filter basket and level it out by tapping or shaking it. Attach the top section.
Step 4
Place the brewer on a stove burner over medium heat.
You can use a gas stove or an electric stove. However, you don’t want to use a stove set at high heat, which could burn the espresso and give you an extremely bitter taste.
Step 5
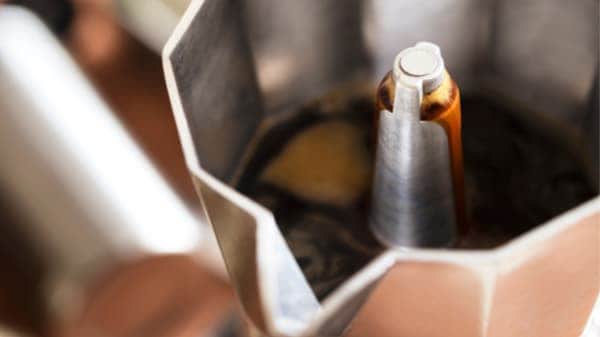
The coffee will start to rise through the tube and fill the upper chamber. You’ll hear the noise as it starts to percolate out of the top part of the tube.
Once the coffee partially fills the upper chamber, remove the coffee brewer from the heat. Coffee will continue to bubble out of the top of the tube, so don’t open the lid yet, or you may get splashed with very hot liquid.
Step 6
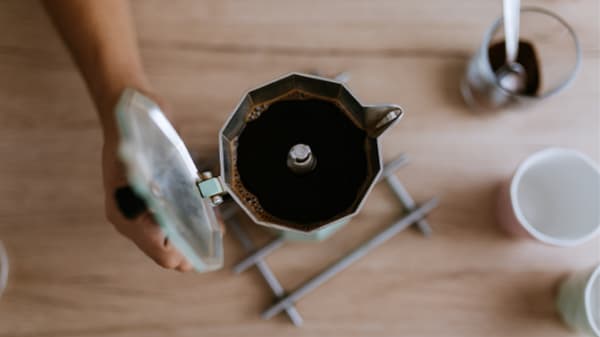
When you no longer hear liquid coming out of the tube, check to make sure the coffee has filled the top chamber. Give it a quick stir and serve immediately.
Step 7
This last step is important. After you finish drinking your coffee and the pot has cooled down, dump out the grounds and rinse the pot under hot water.
Since you generally shouldn’t use soap to clean your brewing method, resist the temptation to leave the used grinds in the pot until you make your next coffee.
Over time the oils will build up on the inside of the pot and will ruin the taste of your stovetop espresso.

Moka Pot Troubleshooting
Coffee Is Too Strong
If your stovetop espresso is too strong, try applying these tips:
- Use less coffee grounds
- Use a lighter roast
- Try grinding your coffee coarser, closer to medium
- Use specialty coffee, which will be sweeter
- Brew at a lower heat
Coffee Is Too Weak
Weak coffee is rarely a complaint when brewing with a Moka Pot, but it can happen.
The water might be channeling inside the basket. When that happens, the coffee grounds don’t get extracted evenly. Don’t tamp the coffee grounds when you place them in the filter.
Use finer grounds. Coffee ground for a drip coffee machine is too coarse for a Moka Pot.
Coarse coffee won’t extract fast enough, which can leave you with a weak cup of joe that doesn’t have enough flavor. Instead, you can grind your own coffee and experiment with medium-fine grinds.
Water Or Steam Leaks
If water or steam leaks from the side of your Moka Pot:
- Make sure you have tightened the upper part adequately
- Don’t use finely ground coffee, which can block the flow of water
- Don’t tamp the coffee grounds in the filter
- Level the coffee grounds in the filter, so it doesn’t go above the edge
- Descale your Moka Pot frequently to avoid mineral build-up (see cleaning instructions in the next section)
If water or steam leaks from the valve, the safety valve might be blocked or damaged.
When brewing, don’t add too much water to the bottom part. Don’t block the valve, which lets steam pressure escape. Also, keep the inside column of the upper chamber clean by descaling.
Cleaning Up
Keep in mind one key phrase with a Stovetop espresso brewer: no dishwasher.
That’s right, Moka Pots need to be hand washed.
All Moka Pot cleaning starts with the same basic steps. Take the coffee maker apart, dump out the coffee grounds, and run the pieces under running hot water. Dry them completely.
Once the pieces are dry, it’s time to assemble them. Always store your coffee maker completely dry, so the metal doesn’t rust.
That’s it. Simple.
If You Have An Aluminum Moka Pot
If you have an aluminum Moka Pot, you shouldn’t use soap to wash it. While that might sound awful, you don’t want soapy residue clinging to the aluminum and giving your coffee a soapy taste. Soap can also damage the finish.
When you have a new Moka Pot, rinse it with hot water, put it through a couple of brewing cycles, and throw that water out. Then you’re ready to start brewing.
Never scrub the inside of the pot, which can scratch it. Those fine scratches are ideal places to trap coffee oils, and over time those oils go rancid.
Cleaning The Inside & Outside Of The pot
Moka Pots can get stained by the oils I just mentioned. To clean up the outside, heat up water and add a few teaspoons of sodium bicarbonate. Use a sponge and this solution to clean the outside of the pot, then rinse clean.
If you have a stainless steel Moka Pot, you can use soap on a stainless steel coffee maker. However, don’t scrub the outside with a sponge since you will scratch that beautiful shiny surface.
If the water you use to make coffee is hard, minerals can build up inside the brewing device and clog the safety valve. You can eliminate those minerals by descaling the inside of the pot.
To clean and descale the internal part of your brewer, fill the bottom part with water and white vinegar at a 3:1 ratio.
Assemble the coffee maker and heat as if you were brewing coffee. Empty out the vinegar water.
Repeat the process two more times with plain water to flush out the vinegar, which doesn’t taste too good in your morning brew. Then clean one last time with hot water.
And ta-da! You can now get back to making the tastiest stovetop espresso!
Wrapping Up Stovetop Espresso
The Moka Pot is a beloved brewing method around the world for good reasons. It’s an inexpensive method that’s simple to use and care for.
It’s even an ideal collector’s item, available in unique designs and colors. Enjoy brewing coffee in a Moka Pot, and enjoy your taste of Italian-style coffee.
You never know, Moka pot coffee could be your new favorite way to brew!