How to Make Espresso Without Espresso Machine
Do you ever think about how espresso machines are just so darn expensive?
So many people are forced to settle for pod machines to get their espresso fix as a result. It’s a shame, because it just can’t beat a freshly pulled shot from an espresso machine. But such is the world we live in, and coffee lovers like us without the budget for one will have to do with what we can afford.
There is a silver lining, though. With the right techniques and equipment, you can recreate your local coffee shop’s espresso, right from the comforts of your home. So allow me show you how to make an espresso, without a machine of your own!
Firstly, What’s Espresso?
The espresso is essentially a super concentrated version of your cup of coffee. While most shots of espresso come out super bitter, this actually isn’t necessarily the case. A good shot is supposed to have a complex but balanced flavor profile, but tends towards smoky and chocolaty notes as most coffee for espresso is roasted medium-dark.
It doesn’t make use of a paper filter, so many of the natural aromatic oils from your coffee are extracted. It’s also thicker than your average brew, so it has a fuller, more velvety mouthfeel.
The first espresso machine, or at least the oldest relative of our modern-day machine, was created in Italy the early 1900s. And it instantly became a hit (and as we now know, staple) in Italian culture.
It was meant to be an “express” way of making coffee, as it only took less than a minute to make. It did so by forcing hot water through finely ground coffee, at very high pressure.
Now where would we be without technology? What started out as just 1.5 bars of atmospheric pressure in their early days, has developed into 9, and up to 15 bars in modern espresso machines. This is why espressos that once took 45 seconds to make, only take 25-30 seconds today!
But it’s also this advancement in technology that has made a good espresso machine almost too expensive to own for some of us, especially at a time when money needs to be set aside for our essentials. As yummy as espresso is, it’s not more essential than any other cup of coffee.
The Espresso Roast
The long and short of this section is, you can use any roast you want when it comes to pulling an espresso. I’ve seen dark, medium, and even sometimes light roasts extracted as espresso perfectly. They all bring their own unique flavor characteristics to every shot.
But you’ve also probably come across something called “Espresso Roast” at least once in your lifetime. What exactly is this kind of roast, and what makes it especially good for espresso?
An espresso roast is labelled as such because it’s more soluble than other types of roasts. This makes it ideal for beans that will be used with brewing methods that utilize shorter extraction times, such as the espresso.

Nicaraguan grown beans, this coffee is single-origin and USDA certified organic. With sweet chocolately undertones.
Roasters are able to achieve this by extending the roast time longer than usual. This doesn’t necessarily mean that they roast their beans darker, though.
One of the main misconceptions about espresso is that dark roasted beans taste best. But the issue with dark roasts is that most of the origin flavors of the coffee are gone at that point. Instead, the more smoky flavors from the roast take over. These can come across as overly bitter, or even unpleasant as an espresso.
Dark roasted beans are often used for espresso because they’re the safest option. Some flavors can taste unpleasant when they’re ever so slightly under or overextracted. But flavors from roasting tend to allow more room for error when it comes to extraction.
The Fine Espresso Grind
There are many variables that make your espresso good, so getting perfectly roasted beans is not enough. The grind size you use can also make or break your coffee experience. A fine grind size would work best for your espresso. For comparison, this would be just slightly finer than table salt.
As I mentioned, an espresso machine uses a high amount of pressure in order to quickly extract your coffee with hot water. Given this small timeframe, it’s important to grind your beans finely to make the extraction process easier.
The reason for this is that using a fine grind increases the total surface area of your coffee. The higher the total surface area, the more coffee comes into contact with the hot water from your machine. The finer you grind your coffee, the more coffee the hot water will extract
Be careful, though: there’s such a thing as grinding too finely (aka the Turkish coffee grind). When this happens, your coffee particles become packed more closely together. This makes it harder for hot water to pass through, and that can extend your espresso’s extraction time. This can result in an overwhelmingly bitter, pungent shot of espresso.
Just as bad (even worse in my opinion) is grinding your beans too coarsely. In this case, the coffee particles become too large, and so do the spaces between them. The hot water barely passes through your coffee. This can result in a thin-bodied, dull, and lifeless cup.
It’s also worth noting that the evenness of your grind is important as well. If you want your coffee to have a balanced flavor profile, it’s important that your coffee beans are ground evenly. You can achieve this by investing in a burr coffee grinder.
Blade grinders often grind beans into unevenly-sized particles, resulting in underextraction in some and overextraction in others. You get an unpleasant mix of sour and bitter, and trust me: it tastes even worse than it sounds!
You Need Pressure
I mentioned a while ago that modern espresso machines use 9 bars of pressure with hot water to extract coffee from your beans. To give you an idea of just how much pressure that is, that’s around 4 times as much as the recommended pressure for inflating tires. So why do we put this mean machine in the middle of cafés?
That’s because extracting coffee at that pressure gets a whole lot out of your bean. Subtle flavors, acids, and oils are all extracted by the water from your bean and into your shot of espresso.
The espresso machine was designed for people who want coffee on-the-go. So in order to save time, machines utilize high pressure levels to allow the water to better extract the coffee. The result is a rich, flavorful, and concentrated shot of coffee in half a minute!
3 Unique ways to Make Espresso Without An Espresso Machine
So really, you have every reason to love espresso. It’s strong, rich, and when done the right way, can develop a complex but well-balanced flavor profile without any unpleasant taste. I don’t think I’m alone though in seeing espresso machines as a luxury, more than a necessity.
If you’re just looking for a daily caffeine fix, there are tons of inexpensive ways that you can get it without digging through the bank. There’s coffee equipment that costs 80% less, but can still get the job done nearly as well.
But at a time when getting your espresso fix from your local café’s espresso machine doesn’t seem worth the effort, how else can you get your espresso fix?
As an alternative, you can use some pieces of coffee equipment that are much cheaper, if you don’t already have them in your kitchen! Allow me to show you how to make an espresso without a machine.
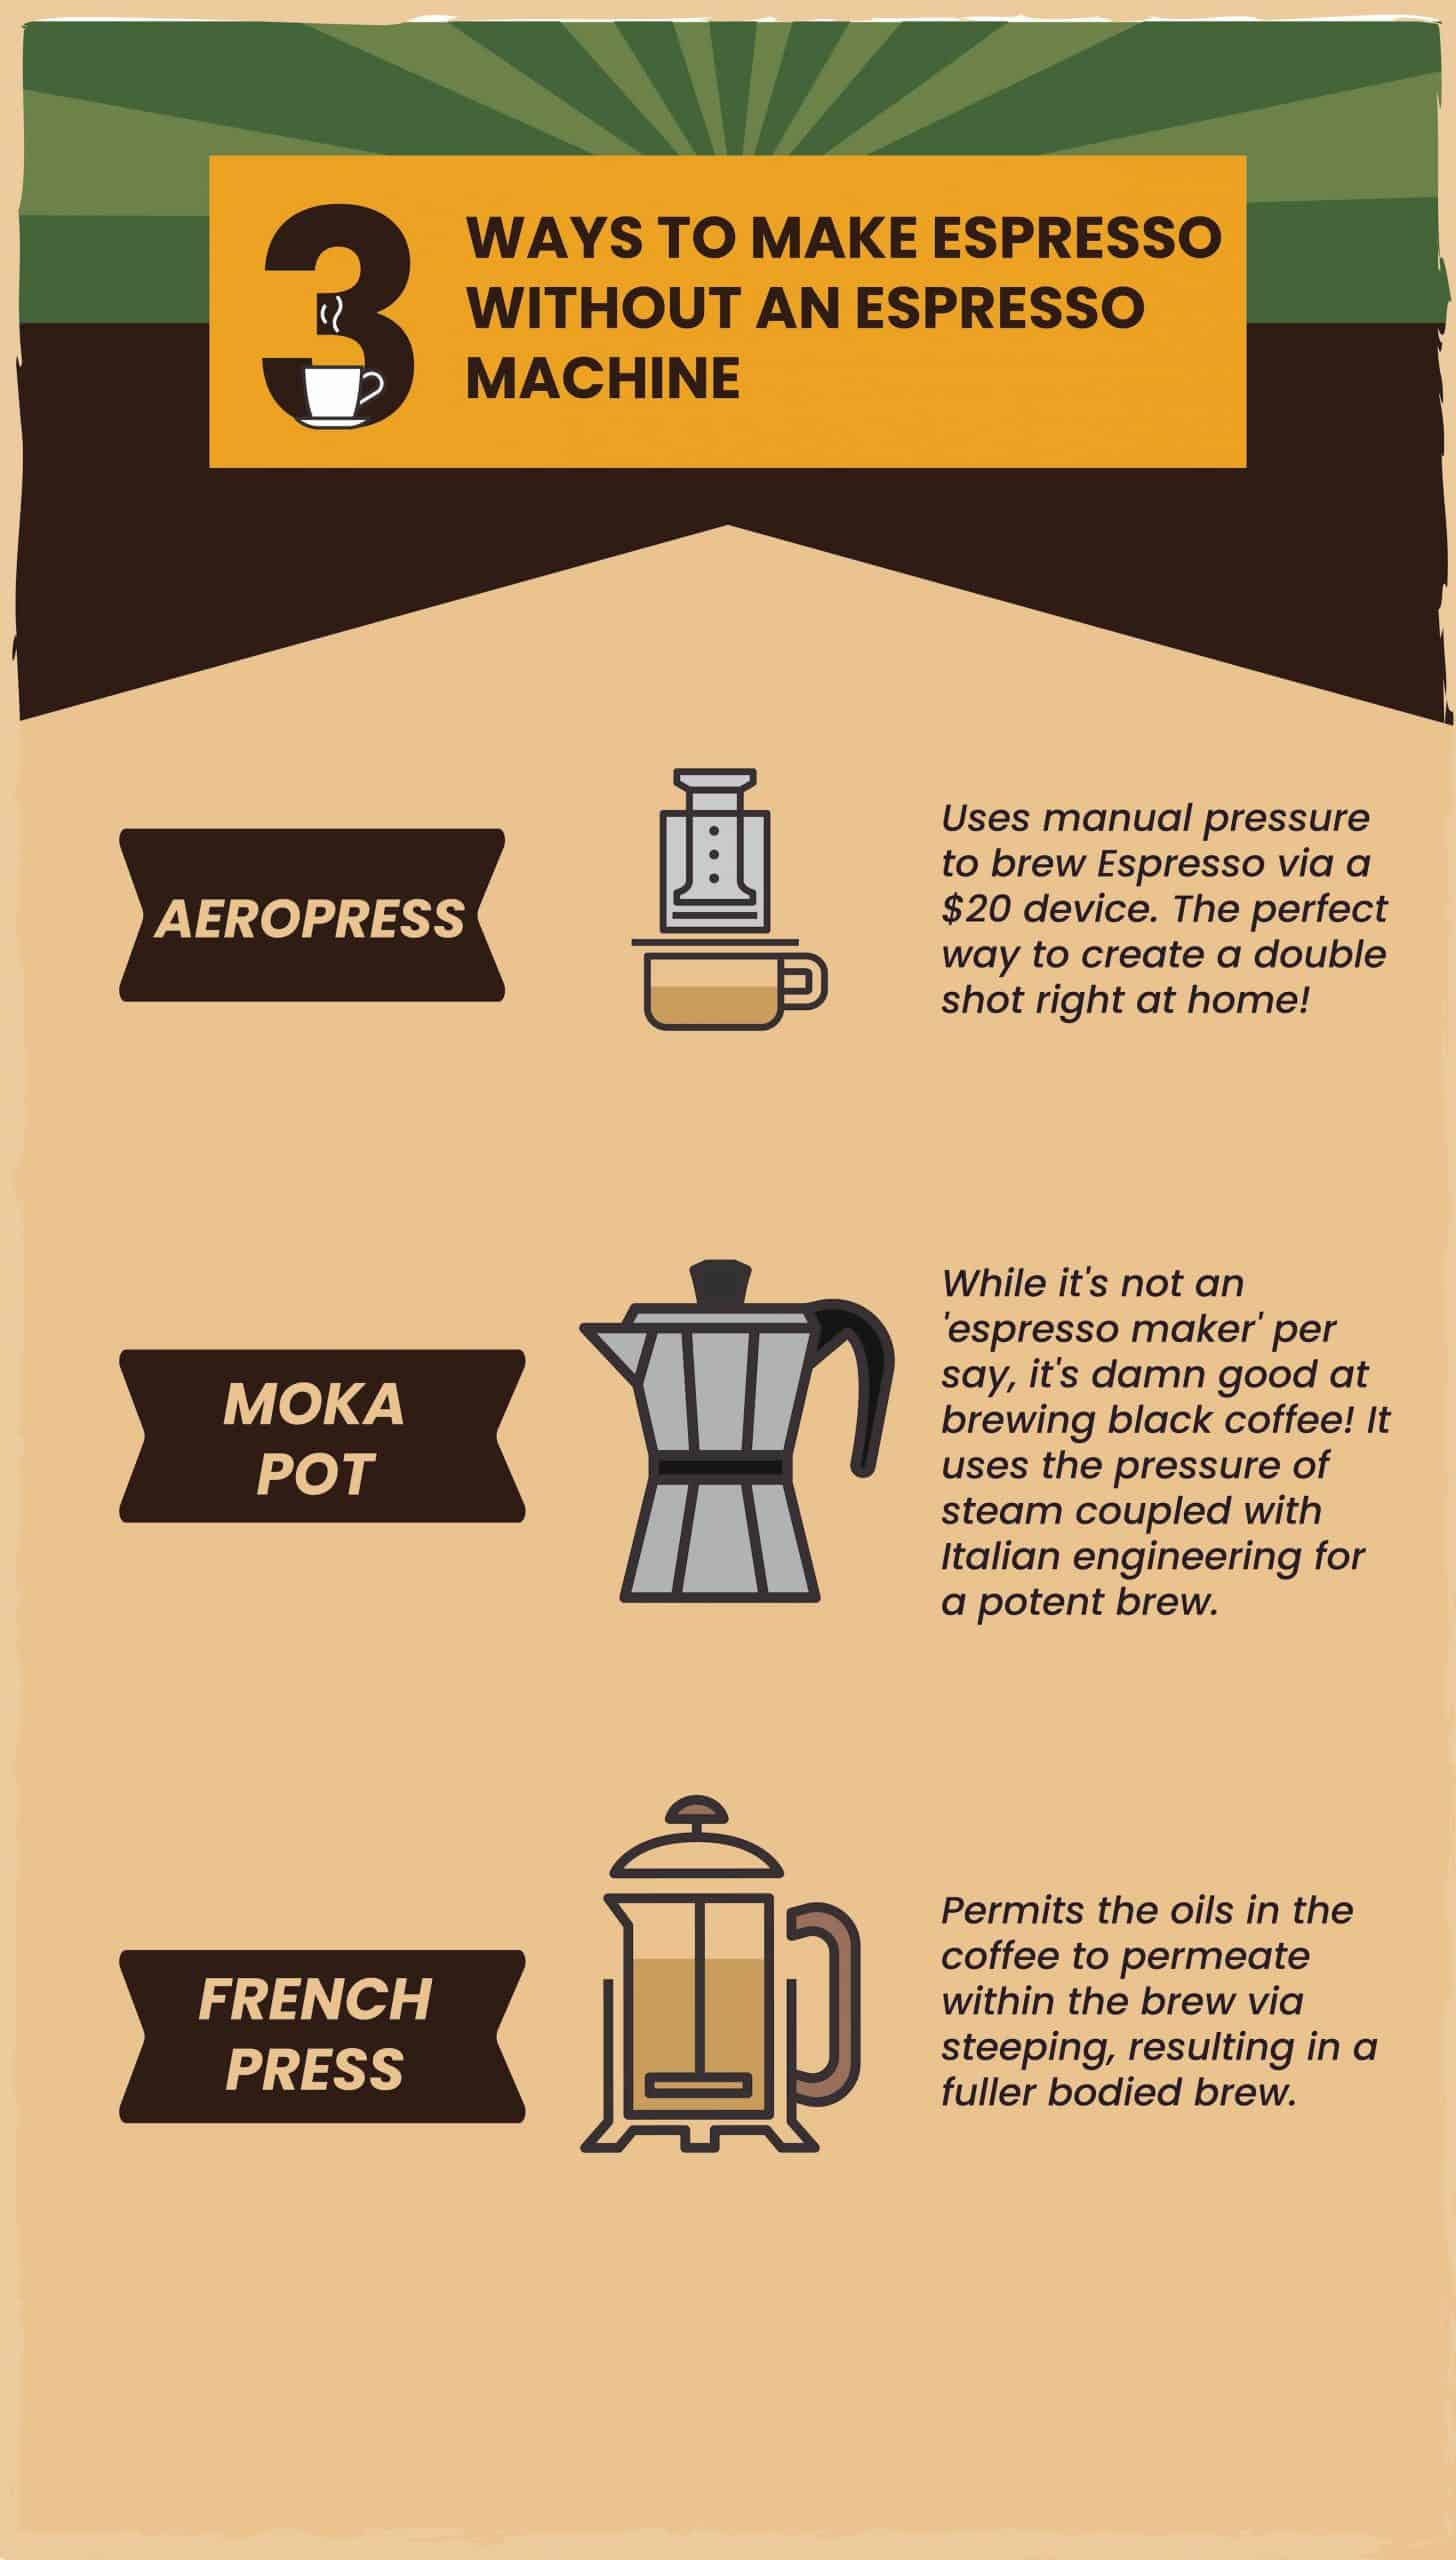
Aeropress
An AeroPress is a full immersion brewing device. You steep your coffee in water, then press it through a filter by forcing a plunger through the device. As you can see, it also uses pressure to make coffee.
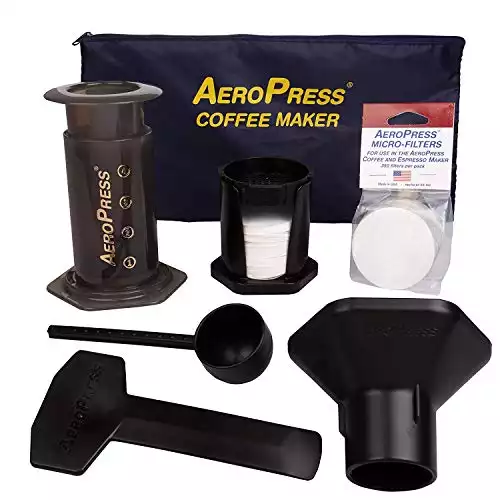
So how can you use it for making espresso at home? All you need are:
- AeroPress
- Coffee beans
- Burr coffee grinder
- Seasoning bottle for tamping
- Coffee scale
- Kettle
- Mineral or filtered water
Although for the BEST results, you’ll want to pick up the attachment below from fellow too:

Once you have all those, you’re ready to press away! Here’s how to make espresso without an espresso machine, using just your AeroPress.
- First, you’ll want to prepare half a cup of hot water. The ideal water temperature for brewing coffee is around 205 degrees Fahrenheit, which is just before boiling.
- Finely grind around 20 grams of coffee beans. Remember that the consistency should be just slightly finer than table salt.
- Rinse your filter with water and place it on the drain cap of your AeroPress.
- Place the drain cap on the AeroPress, and place the press on top of a coffee mug. Just in case you could use a reminder, make sure to refrain from using a plastic cup, paper cup, or any type of cup that could get squished if you press some weight onto it.
- Transfer your coffee grounds to your AeroPress.
- Add your filter on top of the seasoning bottle (it has to be wide enough to fit inside the Aeropress) and use it as a tamper.
- Tamp your coffee ground with your second filter! Leave the second filter ontop, so the coffee is now between 2 filters. You may also use a tamper from an old espresso machine if it fits well, but any solid, flat bottomed cylindrical item that fits will do.
- Add the 60g (seems high, but the coffee will absorb approx 20g of the water) of near boiling water into your AeroPress, and stir the coffee-and-water mixture with your spoon for a few seconds.
- Unlike a usual Aeropress brew, there’s no waiting 30 seconds or more. Instead, press the plunger into the AeroPress with your hand quickly. You will feel some resistance. Just think of this as you “earning” that espresso. You can also switch arms if it helps!
- Once the plunger is fully depressed and you can’t press it down any further, remove the AeroPress from the top of your mug.
- Enjoy your freshly prepared homemade cup of espresso!
- Pop out the used coffee grounds using the plunger, and rinse your AeroPress with water. Then, set it aside for the next day!
Quick and easy, just like your typical AeroPress coffee but a slightly different process. The initial plunging is a mild workout, but I see that as more of a good thing than a bad thing. But maybe that’s because I don’t get as much exercise as you do.
Moka Pot
If you don’t feel like putting any strain on your body for your coffee, you might prefer something like a Moka pot, which you can just leave on the stove until it whistles and combine it with milk to serve with your espresso from.
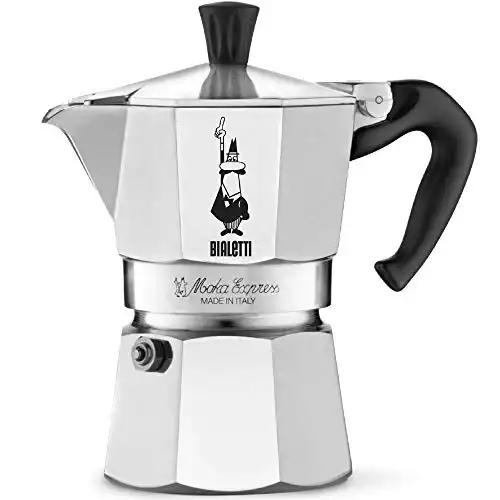
If that’s the case, read on to learn how to make an espresso using a Moka pot. Spoiler alert: it’s also called a stovetop espresso machine, because leaving it on your stove is all you have to do!
To use a Moka pot for making espresso at home, you’ll just need:
- Moka pot
- Coffee beans
- Burr coffee grinder
- Coffee scale
- Mineral or filtered water
- Teaspoon
Once you have everything, it’s time to get acquainted with your Moka pot.
- Use your coffee scale to measure out and then grind approx 22 grams of ground coffee. If you don’t have a scale, you can just grind and then trial and error the exact amount of coffee grounds as it’l fit in a standardized basket The consistency here should still be slightly finer than table salt.
- Add your coffee grounds to your Moka pot’s filter basket
- Don’t tamper the coffee grounds, lightly brush over the surface with your finger and give it a light shake.
- Add near boiling water to the bottom compartment of your Moka pot, until the water level reaches the inside indicated line of the container. Make sure you don’t put too much water though, as this can drown your coffee beans and cause potentially dangerous levels of pressure.
- Attach the basket of coffee grounds onto the hot water below and screw on the top lid.
- Place your Moka pot on top of your stove, and turn the stove to medium heat. The heat from the stove creates pressure, which pushes the coffee up through the filter and into the upper chamber of the pot with water.
- Wait until you hear a hissing sound from your Moka pot. A light brown foam will appear right before your espresso is done.
- If you see that the Moka pot is already full of coffee or it’s whistled, you can remove it from the stove.
- Place the bottom of the Moka pot under hot water, this avoids the coffee grounds from over extracting.
- Pour and enjoy your freshly made Moka pot espresso!
- Dump your coffee grounds, wash the components individually with water, and then reassemble them for future use.
The Moka pot method doesn’t take nearly as much effort as an AeroPress, plus it produces a really rich espresso-like body. Just pour some water and pop in some ground coffee, then you’re good to go!
French Press
And if the previous two don’t do the trick for you, here’s a third way to make espresso at home. This is also probably the coffee equipment you most likely already have in your kitchen. If it is, then I have good news for you: when you get tired of drinking French press coffee, you can also use your French press to make espresso!
The classic French Press. If you love a fuller flavor, you need one of these in your brewing arsenal!
All you’ll need are:
- French press
- Coffee beans
- Burr coffee grinder
- Coffee scale
- Mineral or filtered water
- Kettle
Now let’s turn your French press into a makeshift espresso machine.
- Heat one cup of water until right before boiling.
- Measure out and then grind coffee to equate a 1:12 coffee/water ratio (so approx 12g per 100ml of water, if you want an 8oz cup you’ll need approx 19g of coffee. The French press usually uses a relatively coarse grind. But since we want that distinct espresso quality in our cup, you’ll use the fine espresso grind size.
- Add your ground coffee to your French press. The French press is a filterless full-immersion brewing method, so expect a really strong and rich brew.
- Add water a few short streams at a time. Allow the coffee to bloom, as the water replaces the carbon dioxide inside the ground coffee and extracts its delicious flavors.
- Once you’ve poured in the water, close the lid of your French press. Allow your coffee to extract for another 4 minutes, or 5, fodepending on how strong you want your cup of coffee to be.
- Make sure not to leave the coffee inside the French press sitting for longer than five minutes. Remember, 4 minutes is enough. In leaving your coffee steeping for too long, you’ll run the risk of overextracting your coffee grounds. This can cause your beans to taste overly bitter and unpleasant.
- After four or five minutes, press down on the plunger of your French press. Similar to the AeroPress, expect some resistance here. Once you’re around halfway down, pull the plunger all the way up before pressing it again. This is just to ensure you extract as much coffee as you can.
- Pour out the espresso version of your French press coffee, and enjoy! Remember that leaving your coffee sitting can result in the overextraction of your beans.
- Rinse the components of your French press with hot water individually, before reassembling them and using them again.
Bonus: You can even froth some warm milk using your French press!
Among the three, the French press scores the lowest in terms of how close it is to a real espresso. But it’s still a great way to brew extra-extra strong coffee when you’re in the mood for it. Just remember to pour out the coffee as soon as you’re done brewing, so you don’t ruin your cup.
Summary
To get a result closest to a real espresso, I would recommend going with a Moka pot. It has that thick, oily quality of espresso that I don’t think you get as much of from an AeroPress or French press.
That doesn’t necessarily mean you’ll like the Moka pot most out of the three, though. I used to love making stovetop espresso with mine, but I’ve grown more into a French press user these days. If you like your coffee richer than brewed coffee, but not quite the same level of richness as an espresso, the French press would also be a good option for you.
But what ultimately matters in choosing between the three is which machine will allow you to make coffee the way you like it. If it so happens that an AeroPress makes the version of espresso that you enjoy the most, then by all means, go with your tastefully crafted AeroPress!