Brewing Coffee in Milk: Why Do It & How To Do It
Unless you’re drinking black coffee or straight espresso shots, you already appreciate the value of adding milk to coffee.
Almond milk, oat milk, dairy milk… it doesn’t matter what kind. A splash of milk makes coffee less bitter and more drinkable.
But what about adding more than a mere splash of creaminess? If you’ve ever wondered about brewing coffee in milk, keep reading to learn what’s possible with some warm milk and a french press.
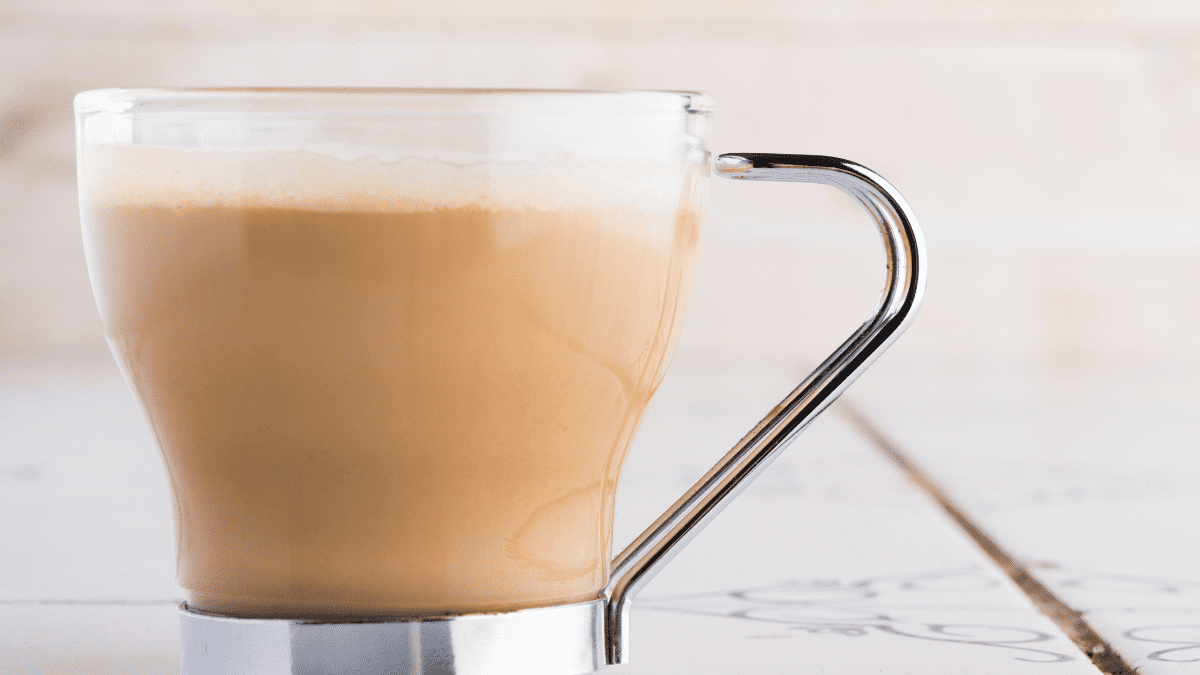
Can You Brew Coffee With Milk?
The idea behind brewing coffee with milk is simple: during the extraction process, you use milk instead of water.
Theoretically, this brewing process eliminates bitter notes and produces a sweeter flavor and a creamier texture. Milk and water are both liquids, so it sounds possible, right?
The short answer is yes, you can brew coffee with milk. However, there are several risks associated with this process. So before you try to make a moka pot milk brew, take a moment to read through this article.
First, brewing coffee with milk can clog your brewing device. Even if a brewing method might produce the very best possible flavor, it’s not worth damaging your coffee maker (including a Keurig). Second, heating milk to the correct temperature for brewing can curdle the milk if you’re not careful.
Those dangers aside, the biggest thing to keep in mind is that making coffee with milk instead of water will significantly reduce the coffee flavor in your drink.

Curdled milk and clogged brewers? These risks might not seem worth it, especially not for a weaker coffee flavor. But don’t give up just yet. Half the joy of coffee is trying new brewing methods to achieve the perfect morning cup.
When done properly, making coffee with milk instead of hot water can produce a velvety texture and creamy taste that latte lovers will adore.
A coffee using dairy milk (particularly whole milk) will create a rich, full bodied drink. Plant based milk will offer a more neutral flavor with a silky mouthfeel.
So how can coffee drinkers minimize risk and maximize flavor when brewing coffee with milk? (Hint: French press, cold brewing, and instant coffee granules will give you your best chances of success when using this milk lover’s brewing method.)
As with all things in the land of coffee, it all comes down to process. So let’s start there.
How To Brew Coffee With Milk
Heat Your Milk
Extracting coffee from ground beans typically requires a water temperature of 190 – 205 degrees Fahrenheit. Milk, however, will start to burn or curdle at this optimal brewing temperature.
But just because milk can be temperamental when exposed to heat doesn’t mean you should avoid heating it. In fact, heat breaks down the milk’s carbohydrates into simpler sugars, resulting in a sweeter taste.
Don’t worry about the chemical breakdown. Instead, try to heat your milk to just below boiling. (Quick note: heating milk too quickly can also cause it to curdle, even if the milk hasn’t reached boiling temperature. So while heating milk, make sure you’re stirring frequently.)
There are a few ways to achieve this lower temperature when heating milk instead of water.
Heat milk in a saucepan on low heat, stirring frequently. Or, use a microwave-safe glass container, such as a Pyrex, to heat the milk in the microwave.
It’s a little more difficult to achieve a gradual heat-up this way, so remove and stir the milk every 30 seconds or so. Repeat this process until the milk reaches a temperature just below boiling.
If you want to be extra cautious, use a cooking thermometer to make sure the milk has reached the correct temperature.
You could also heat your milk using a manual steam wand. But keep in mind that steamed milk contains more air than simply heated milk. Excess air in frothy milk could interfere with the extraction of ground coffee.
Hand Brew Your Coffee
As I mentioned earlier, using an espresso or drip machine to brew coffee in milk risks clogging the equipment or causing bacteria development. (Dairy milk will particularly increase the risk of calcium deposits.)
Even if milk brewing doesn’t damage your machine, the labor intensive cleanup will be more trouble than it’s worth.
Instead, your best option is going to be making your coffee by hand, specifically by using a french press.
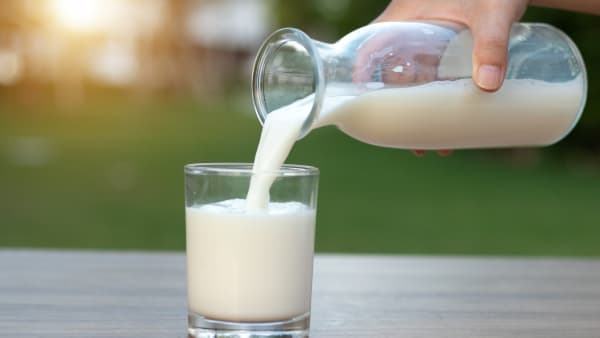
Following the above suggestions, heat milk on a stove or in a microwave. Distribute 4 tbsp. evenly in the bottom of the french press. Pour 8 oz. milk onto the grounds and stir to saturate all of the grounds.
Allow the grounds to steep in the milk for at least four minutes. Then, slowly plunge the french press as you would normally. Pour and enjoy.
Use this time and coffee-to-milk ratio as a starting point. For a stronger beverage, you’ll likely need to increase the amount of time the coffee steeps in the french press.
When you’re finished, clean the french press thoroughly. It’s easy to get in the habit of giving the french press filter a quick rinse and calling it clean. But now is not the time for shortcuts. Scrub the filter with soapy water to avoid calcium buildup.
I also recently tried brewing coffee with milk in my Aeropress. I thought the milk fat might clog the paper filter, but didn’t think this experiment would cause lasting damage to my equipment. So I figured it was worth trying.
Straight off the bat, the amount of pressure resistance was noticeably different than brewing with hot water. After I finished pushing down the plunger, a frothy bit of foam had amassed on the filter cap.
Happily, no damage to my Aeropress. But I can’t say much about the taste of the coffee.
All things being equal (whole milk, dark roast), I preferred the coffee produced by the french press rather than by the Aeropress. The former’s milk brewed coffee had an earthy, nutty flavor. The latter’s milk brew tasted simultaneously sweet and sour.
If you don’t have access to a french press, you can still hand brew coffee with milk. Let’s go through some remaining options.
Using a stovetop espresso maker relies on boiling liquid, so you can’t do this with milk. Even if the process doesn’t cause the milk to curdle, it will leave a sticky, hard-to-remove residue inside the pot.
You could theoretically brew coffee with milk using a pour over. So long as you properly clean the pour over, the milk won’t damage the device itself. However, a pour over likely won’t give you the amount of brew time needed prior to filtration.
So what’s left, cowboy coffee?
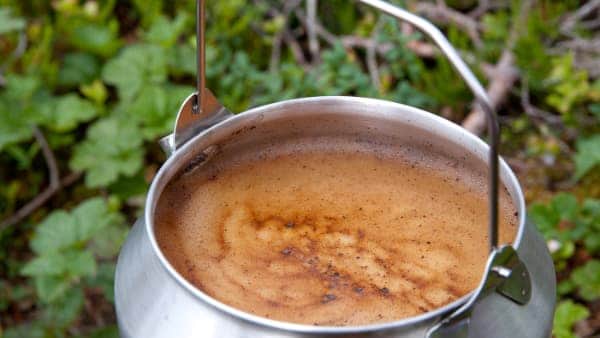
If you’re not fussy about flavor complexities, there is an easier option. After heating your milk to the correct temperature, stir in a spoonful of instant coffee.
Instant coffee sacrifices the flavor of fresh coffee beans for convenience. But brewing coffee with milk already reduces the range of flavors available, so mimicking the process of making hot chocolate with cocoa powder to make a milky coffee might work for you.
Keep in mind that milk has a lower specific heat capacity than water, meaning a hot milk drink loses heat much faster than a black coffee.
The upside to this chemistry is that you’ll be able to drink your milk brewed coffee immediately after brewing it. The downside is that this temperature loss makes pre-batching and decanting warm milk-brewed coffees for later use somewhat difficult.
Flex The Coffee Grounds Dose
Finding the perfect dosage of coffee grounds can be challenging at the best of times. When you’re brewing coffee with milk, it’s even a bigger case of trial and error.
Unless you’re deliberately aiming to create a weak, milky coffee, steeping coffee in milk will require a higher dosage of grounds than if you were steeping in water. As a general starting point, double the coffee dosage.
You’ll probably need to adjust the dosage several times according to taste and the coffee beans used. Dark or medium roasted beans will work better in this context than a light roast. The type of milk and fat content of the milk will also make a significant difference.
A word of caution: using milk to brew coffee won’t reduce the available caffeine. So if you’re increasing the dosage of coffee grounds, be aware that you’re also increasing the caffeine.

Cold Brew Made With Milk
If you don’t have a french press or don’t enjoy hot milk coffees, you can try making cold brew concentrate with milk. In essence, this method is fairly simple: add milk to coarsely ground coffee, stir, steep, strain, and dilute.
Like with making hot coffee with milk, making cold brew with milk will require more coffee grounds than you’d need with water.
Do some experimenting to find the ratio that best suits your beans and taste buds. But to start, try one part coffee and four parts milk.
I would suggest using a mason jar to store the coffee while it steeps. They’re easy to clean and will fit in your refrigerator. Plus, you can seal a mason jar with a leakproof lid, reducing the potential of a milky mess.
After the coffee has brewed, use a cheesecloth or a fine sieve to strain the coffee. As with traditional cold brew coffee, this method will produce a concentrated liquid. The initial flavor can be quite bitter, so you’ll likely need to add more milk to the final beverage.
In terms of taste, this beverage will exist somewhere between an iced latte and traditional cold brew with milk.
But again, milk brewed coffee sacrifices intense coffee flavor for creamy taste and texture. The milk will obscure the complexities of a light roast. Instead, use a medium to dark roast to ensure your milky drink maintains some coffee flavor.
Grind Size
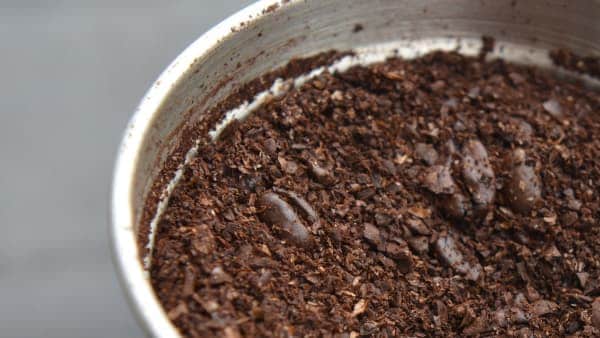
When you’re making cold brew with water, you want to use coarsely ground beans. Making cold brew coffee with milk instead of water requires a similar, if not coarser, grind size.
You can probably get away with a medium grind, but a fine or extra fine grind will contribute to over extraction.
Over extraction leads to a very bitter coffee which is unpleasant at the best of times. And if you’re brewing to get the sweet creamy benefits of milk, over-extraction completely defeats the point.
Brew Time
A water-based cold brew process usually requires somewhere between 12 to 24 hours of steep time, a fairly wide range. Milk cannot steep for the same amount of time. Surprisingly, it requires less time.
Let the coarsely ground coffee steep in the milk for 8 to 12 hours. Any longer and you might end up with a bitter coffee concentrate. Put this mixture in the fridge while it’s steeping. Do not leave it at room temperature.
Since steeping coffee grounds in cold liquid extends the brewing process by many hours, check the milk’s expiration date before pouring it onto the grounds.
Milk that’s about to turn might well turn by the time you get around to drinking it, particularly if you’re pre-batching a large amount of cold milk coffee.
Frequently Asked Questions
What happens if you brew coffee with milk?
Brewing coffee with milk produces a creamier, less bitter beverage. Attempting this method in a drip coffee maker or espresso machine could clog your machine and increase the risk of bacteria growth.
Milk brewed coffee using a french press, instant coffee, or cold brew will give you the best results, albeit a weaker coffee flavor.

