How To Steam Milk At Home Easily
When I was working as a barista in Australia, at least 90% of the drinks we’d make for our customers were milk-based coffee. Flat white, latte, cappuccino— we all love that creamy milk paired with rich espresso coffee. It’s delicious. It’s also really fun to make.
If you’ve been wanting to get into pouring latte art at home, you’ll first need to learn how to steam milk.
I’ve organized a bunch of tips that I think will help get you producing quality steamed milk without wasting too much milk in the process!
Frothed Compared To Steamed Milk
If you want to make a latte, a cappuccino, or any other coffee drinks that require velvety-textured milk foam, there are two ways of doing it— steaming or frothing.
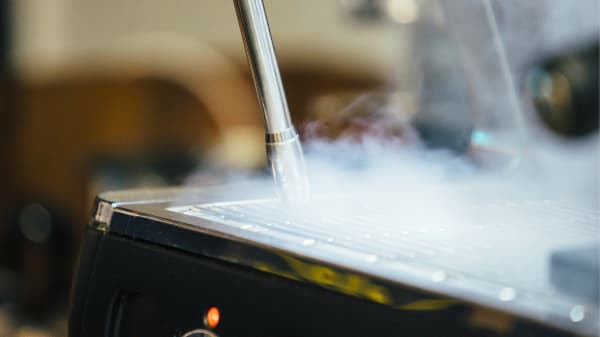
The traditional way to steam milk is by using a steam wand. As the name suggests, this method uses hot jets of steam to inject the milk with air as it is heated simultaneously.
As you engage the steam wand, jets of steam shoot into the milk. Left completely submerged, the steam wand will only heat the milk— not create any foam.
As you lower the pitcher, the jets of steam break the surface of the milk, injecting it with air. This is what creates the fine, silky microfoam that goes into a flat white coffee.
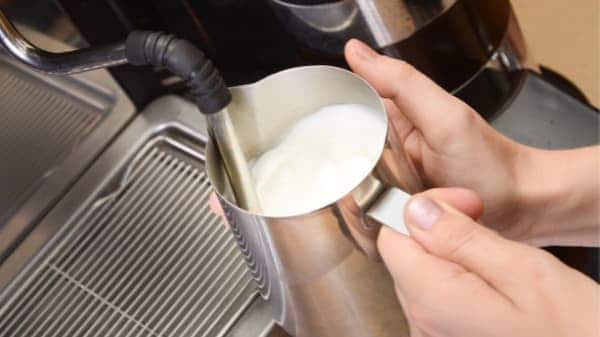
When steaming milk, we have ultimate control over the milk’s texture. We can produce Everest-like peaks of foam or finely textured milk known as microfoam. It all depends on how much air we allow into the milk.
That’s steaming. Now let’s talk about frothing.
There are loads of ways to froth milk for your coffee. From a French press to an electric frother, many household gadgets can do a fairly good job at creating froth.
A milk frother essentially works like a whisk. As the frothing mechanism moves, it breaks the surface of the milk, folding in large amounts of air. This creates fairly thick, frothed milk.
While making frothed milk has the plus side of not requiring any expensive coffee equipment, it can’t create quite the same results as when steaming milk.
How To Steam Milk Like A Barista: Steps & Tips
Got your heart set on pouring a swan or a stacked tulip in your next coffee? Here are some tips to get you in a good place to be pouring like a pro, right there at home.
1. Measure out your milk
First, choose your favorite milk.
Keep in mind that not all milk steams equally, and some just don’t taste great in coffee. If you aren’t sure what’ll work best for a latte, check out the section below.
Measure out the amount of milk you need for your coffee and pour the milk into a steel milk pitcher. Be sure to use cold milk.
2. Purge the steam wand
Briefly engage the steam wand to remove any water hanging out in the pipe, leftover from the last coffee.
Using a dedicated cloth, ensure that your steam wand is completely clean and has no milky residue.
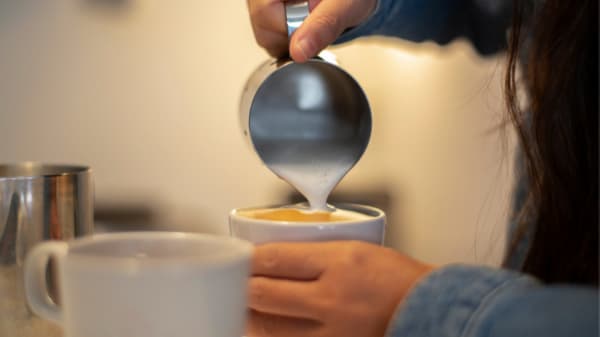
3. Position the milk jug
Pull the steam wand away from the machine at a 30-degree angle, and stand directly in front of it. Line up the pipe with the jug’s spout and submerge the nozzle about 1 inch into the milk.
Tilt the jug back toward you slightly and rotate the jug about 30 degrees to your left (clockwise).
Positioning the milk jug and the nozzle perfectly will take some practice, but once you’ve got it, you won’t even need to think about it.
4. Aerate the milk
The first stage of creating beautiful milk for coffee is called aerating, or ‘stretching’. This is the stage that will give the milk its texture.
By lowering the milk jug so that the nozzle of the steam wand is ever so slightly exposed, we allow air into the milk.
You might have heard those ‘kissing’ sounds coming from behind the counter at a coffee shop— this is the sound of the barista aerating the milk. We want to make only tiny little kissing sounds as this will produce the finest results.
The amount of air you allow into the milk, or the frequency of those ‘kissing’ sounds, will depend on the coffee you are making.
Either way, you want to be finished aerating by the time the milk reaches 40 degrees Celsius (104 Fahrenheit) or about body temperature.
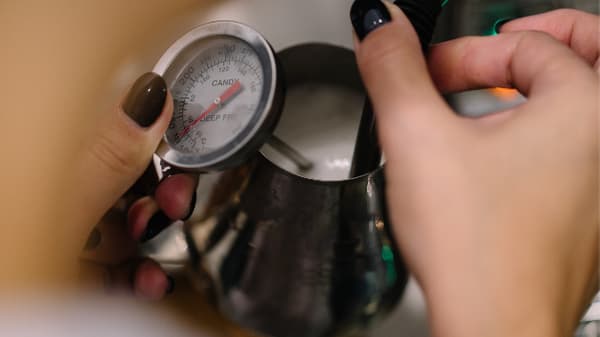
5. Get the whirlpool going
Once the milk is at 40 degrees Celsius (104 Fahrenheit), raise the milk jug slightly so the nozzle is submerged and no more air is entering the milk.

Our goal now is to spin the milk in a whirlpool until we reach 60 degrees Celcius (140 Fahrenheit).
Spinning the milk will remove any large bubbles and aid the texture of the milk, making it smooth, velvety, and shiny.
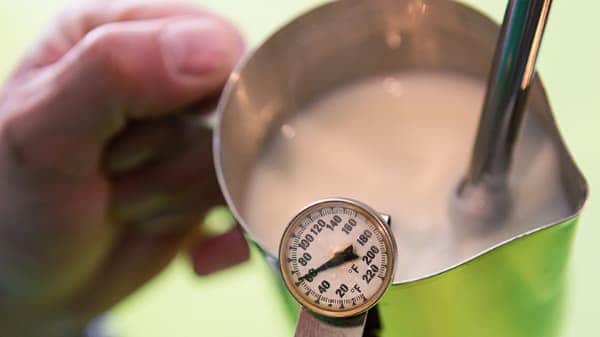
While it isn’t essential, and many experienced baristas choose to go without it, using a milk thermometer is good as it will tell you the exact temperature of your milk.
6. Turn off the steam
As soon as you reach your desired temperature, turn off the steam and lower the jug. Place the milk jug down on the bench.
7. Clean the steam wand
Using a cloth, thoroughly wipe the steam wand. It is really hot at this point, so be careful.
Once you’re happy with your clean job, push the pipe back toward the espresso machine’s drip tray. Finally, engage the steam wand for a second or two. This will purge any milk from the pipe.
8. Swirl and tap
Now turn your attention back to the steamed milk. Hold the jug’s handle with your dominant hand and swirl the milk.
If you need to, you can also tap the jug on the bench, removing any large bubbles that might be hanging around.
You’ll know you’re ready to pour when the milk has a smooth, shiny texture, similar to wet paint. We don’t want to see any separation between the milk and the foam.
9. Pour
Hold your cup of espresso coffee in your left hand and tilt it. Get the tip of your milk jug’s spout as close to the coffee as you can, and begin to pour.
When you get to about halfway, raise the jug a bit, then juggle the jug slightly from side to side.
With a little practice, you’ll be pouring some tasty hearts, followed by a rosetta or even a swan in your coffee.
Pouring is the more challenging part of this whole latte art coffee thing, deserving of an article in itself! It takes a little patience and a lot of practice, but I promise you, you will get there eventually.
Don’t Make These Common Mistakes
Overheating the milk
When milk gets too hot, it begins breaking down. This will massively affect not only the flavor and sweetness of the milk but also the texture.
Use a thermometer to make sure the temperature of the milk isn’t going much above 65 degrees Celcius (149 Fahrenheit).
Many baristas choose to forgo the thermometer once they are accustomed to how the milk jug feels at these temperatures. I’m a total geek for measuring coffee things, so I use a thermometer.
Aerating or texturizing for too long
Steaming milk for coffee is about aerating and texturizing the milk.
If we do too much of one and not enough of the other, we will end up with either thin and watery milk, a result of not enough aeration, or milk that is full of foam with large bubbles as a result of not enough spinning.
A good rule of thumb is to aerate the milk until it reaches 40 degrees Celsius (104 Fahrenheit), then transition to spinning with the nozzle below the milk’s surface.
Starting with warm milk
You’ll always get the best results when steaming if you start with fridge-cold milk.
If you start with warm milk, you won’t leave yourself enough time to make it smooth. Remember, we need to aerate until the milk reaches approximate body temperature, then move on to spinning.
If we start with milk that is 40 degrees Celsius (104 Fahrenheit), things won’t go smoothly (quite literally. It’ll be a bubbly mess!)
Not spinning the milk
When steaming milk, be sure that the milk is spinning in a whirlpool.
This spinning will ensure your milk is smooth and free of large air bubbles.
If your milk isn’t spinning, it may end up with really bubbly milk foam, which doesn’t taste great in coffee.
What Milk Works Best For Steaming?
Choosing the right milk is actually pretty easy. Starting with tasty milk is the key to producing delicious steamed milk for a latte.
If the milk tastes rich and creamy when cold, it’ll be great paired with coffee. If it tastes thin and watery, steaming isn’t going to do much to improve it.
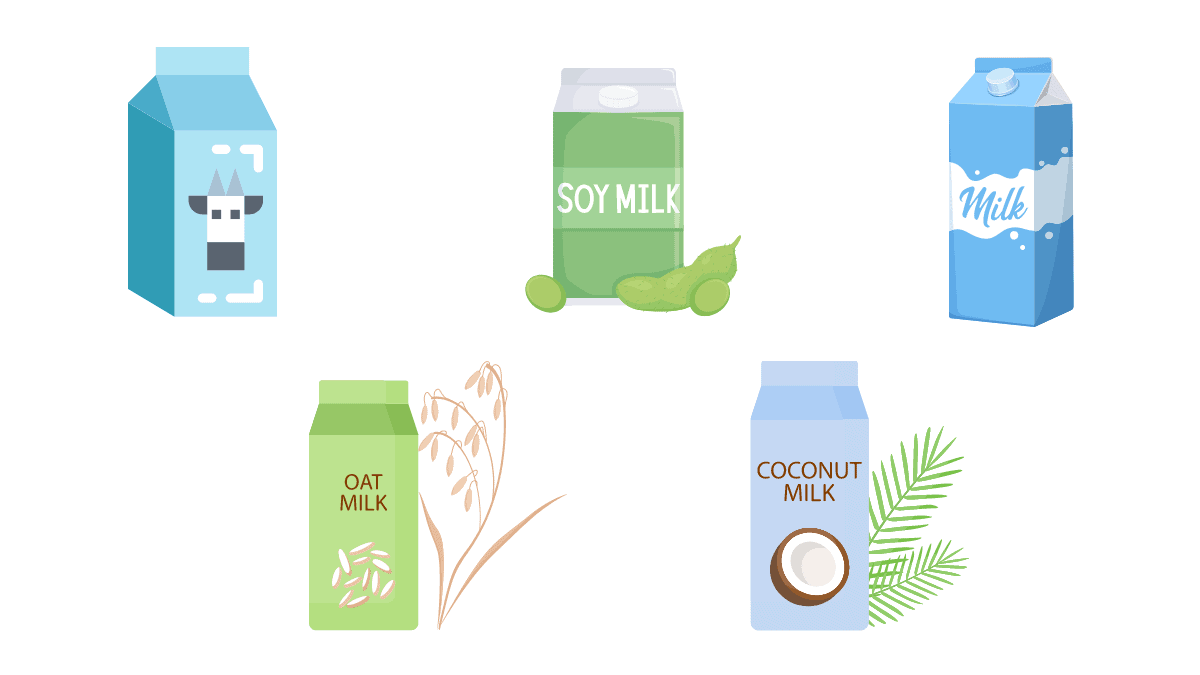
For dairy milk, the best option is full-fat. While skim milk can work, it is usually more watery and won’t produce the luxurious, creamy texture that we are after.
There is also an increasing number of delicious plant-based options. Some of these, such as Oatly’s Barista Edition, Bonsoy’s original soy milk, and even some coconut milk, performs remarkably well, almost like full-fat cow milk when steaming.
Regardless of the milk you choose, always make sure it is fresh and right out of the fridge.
How To Steam Milk Without A Steamer?
You don’t need an espresso machine to make a flat white at home.
There are a few simple household devices that will steam milk without the need for serious equipment.
They won’t produce the absolute best microfoam, but they’ll still make some decent textured milk for a coffee.
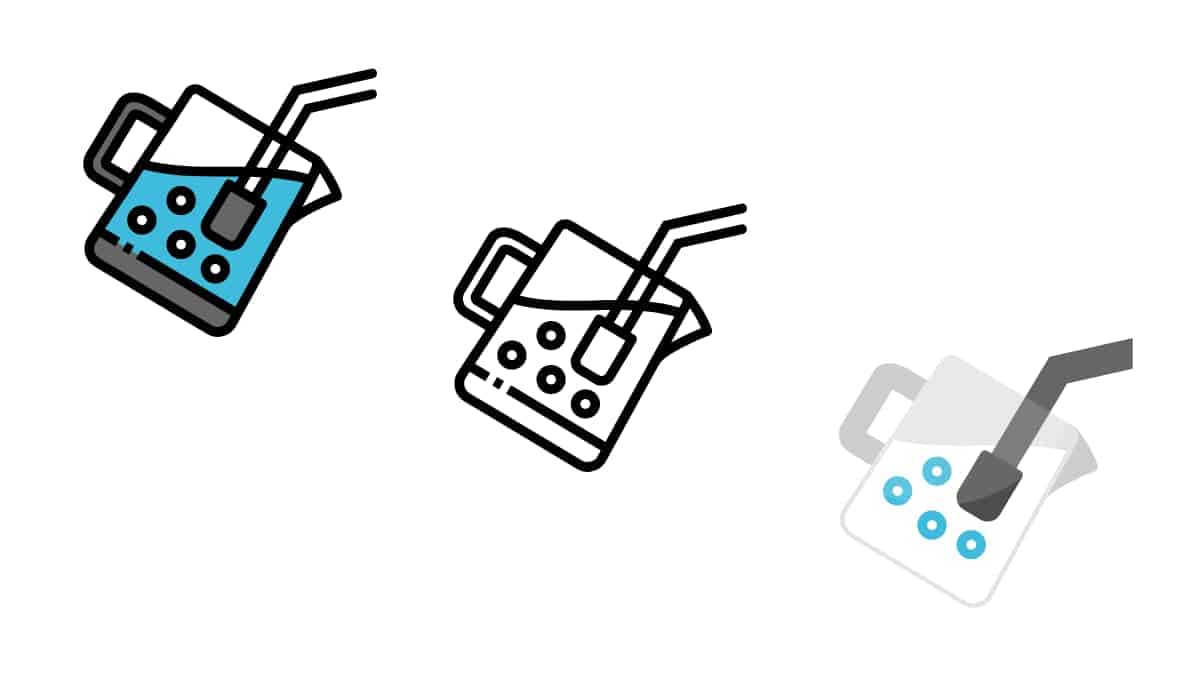
Automatic Milk Frother
Automatic milk frothers are pretty awesome. Just add your milk and turn it on and the balloon whisk will simultaneously heat and create frothy milk in a minute or two.
They can be had for under $50, making them a good budget option to froth milk for cappuccinos at home.
The downside to these is that you have little control over the amount of froth that the device creates.
Handheld Balloon Whisk Frothing
A handheld frother is essentially a hand blender or hand mixer. As the head of the whisk spins, it breaks the surface of the milk, folding in air bubbles, creating froth.
While a handheld milk frother does require a little more effort— you need to heat your milk on the stove before creating froth and bubbles of air— it has the advantage of control.

The technique of making frothed milk with a handheld device is pretty similar to steaming. Froth the milk first, then spin out the bubbles.
You can make some nice fine foam with a bit of practice, good enough for latte art! Just pair it with a manual espresso maker, and you’re set for sipping on tasty bubbles!
Microwave
If all you have at home is a microwave and a mason jar, you’re in luck— you too can make some frothed milk!
Now, the foam produced by this method is by no means the best. It’ll be super thick, full of frothy foam peaks rather than velvety microfoam.
Take a microwave-safe glass jar, a mason jar is perfect, and add some cold milk.
Screw on the lid and heat the milk in the microwave until it reaches a temperature of about 60 degrees Celcius (140 Fahrenheit).
Once it’s there, shake it for about 30 seconds. Keep shaking until your frothed milk is at the consistency you want for your coffee.
French Press
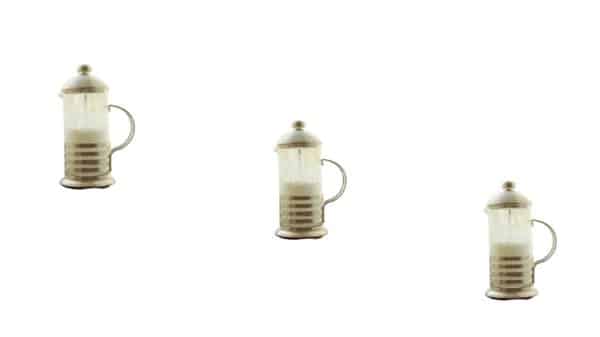
This is an excellent, easy way of creating some nice steamed milk at home. Especially if you’re prepping more than one cup.
First, heat your milk on the stove using a small saucepan. Then transfer it into a preheated French press and get to work pumping the plunger up and down.
The speed at which you pump directly affects the resulting milk, so you’ll need to experiment.
If you do it right, you’ll end up with creamy milk that you might even be able to pour a heart or tulip with. Yup, heaven made from froth and bubbles!
Stovetop Steaming
The stovetop is a good way of heating milk so that you can foam it using one of the above devices. All you need is a small saucepan and, ideally, a thermometer.
Pour your milk into the saucepan, attach the thermometer and place it over low heat until it reaches your desired temperature.
Keep in mind that the milk’s temperature will continue to rise slightly after you’ve taken it off the stove, thanks to the heat from the saucepan.
Best to transfer it to some kind of pouring jug immediately after you’ve turned off the flame to avoid overheating.
Wrapping Up
Regardless of the method, you choose to steam milk, whether it’s with a commercial espresso machine or a handheld frother, all it takes is practice to get those bubbles right.
Keep in mind the tips we’ve spoken about here— start with cold milk, aerate until the milk reaches body temperature, then spin out the bubbles until hot.
With these principles, you’ll be steaming milk like a pro, resulting in tasty coffee with bubbles every time!